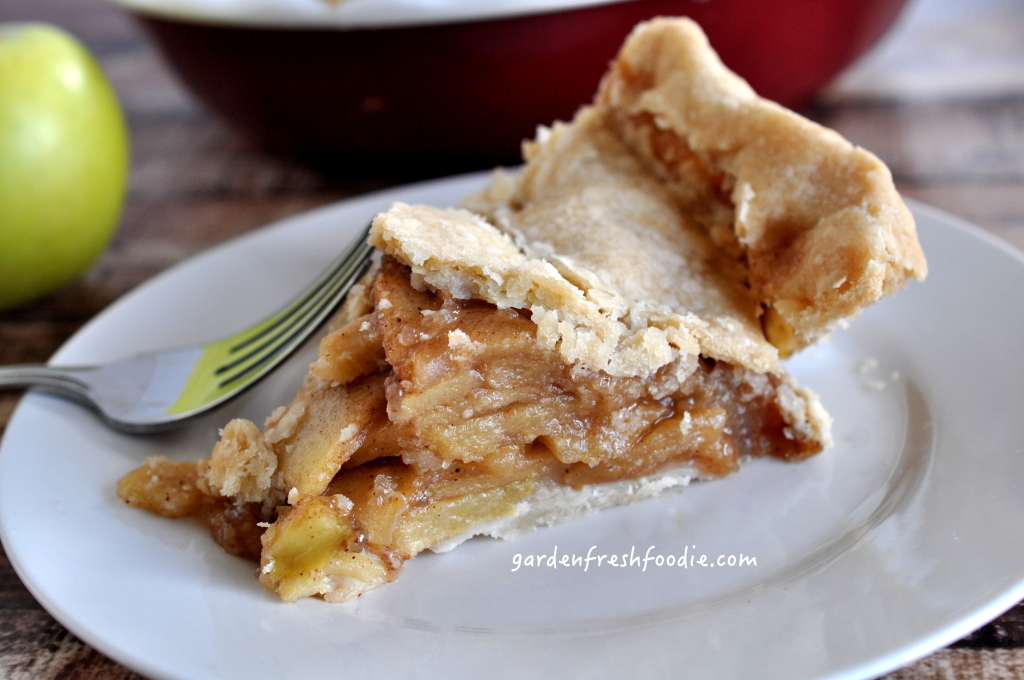
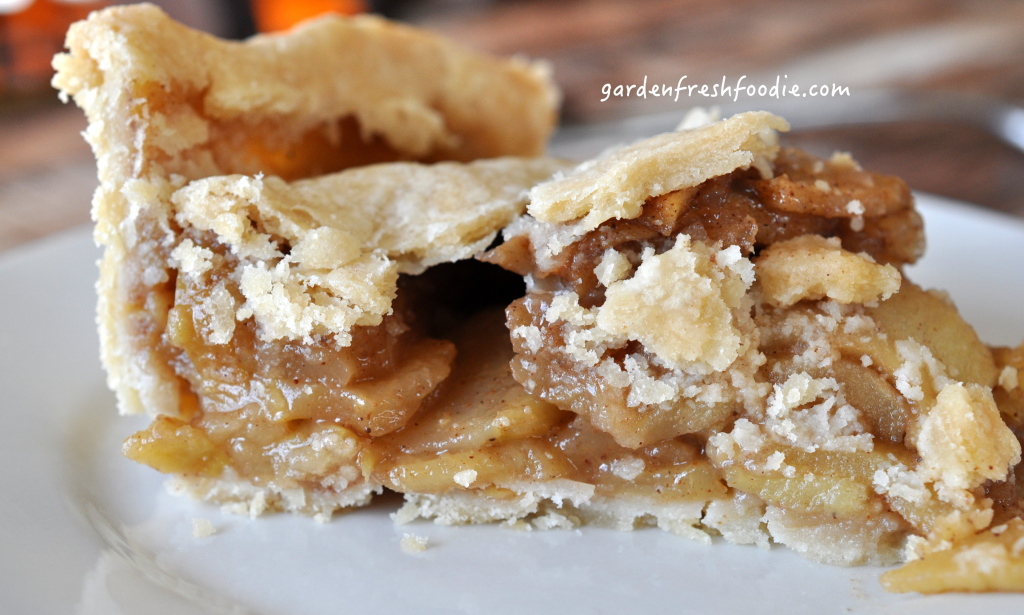
 So I did it! I create a gluten free pie crust that was flakey and delicious. Now, I’m going to tell you right now, it’s not healthy. I am typically committed to created only healthy foods, but for special occasions, I let loose a little. The filling is piled high with local apples and sweetened by local buckwheat honey, cinnamon, and nutmeg. For an added splash of flavor, I added in a little freshly grated orange peel and juice. Yumma yumma, I want it now!
While I’m so happy with just eating this filling of sautéed apples, cinnamon, and honey (which you should do for the healthy option), the rest of the crew wants a pie. I made this for Thanksgiving, as 1 or 6 vegan and gluten free pies. They were all hits. Many have been asking for the dough recipe so here it is, along with the apple i.e. filling. For pumpkin pie, you’re just going to have to wait a little bit longer 🙂 It’s coming down the pipe line, and will be here before Christmas in case you get a desire. That one’s awesome too!
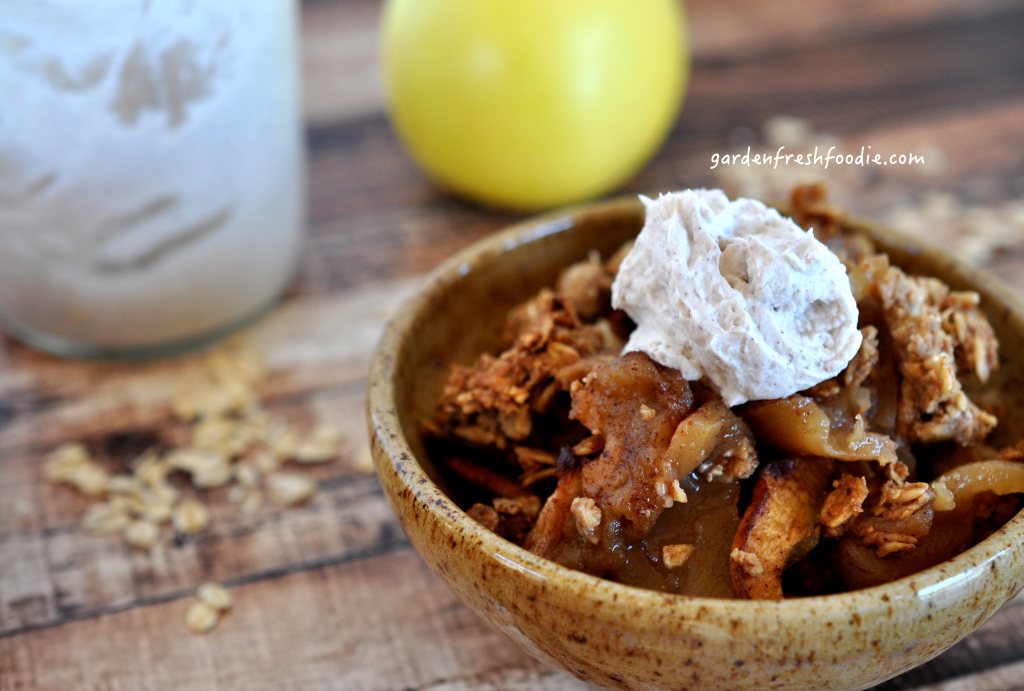
I created this crust recipe based on my formerly used Martha Stewart recipe. I used her flour to butter/margarine ratio as my base and changed everything else. I find that when using gluten free flours it is best to weigh them. I use 130 g as my basic cup weight. So, if you’re trying to convert an old favorite recipe, weigh out the flour you are substituting, using the 130 g as a baseline cup weight. This recipe used King Arthur Gluten Free Flour.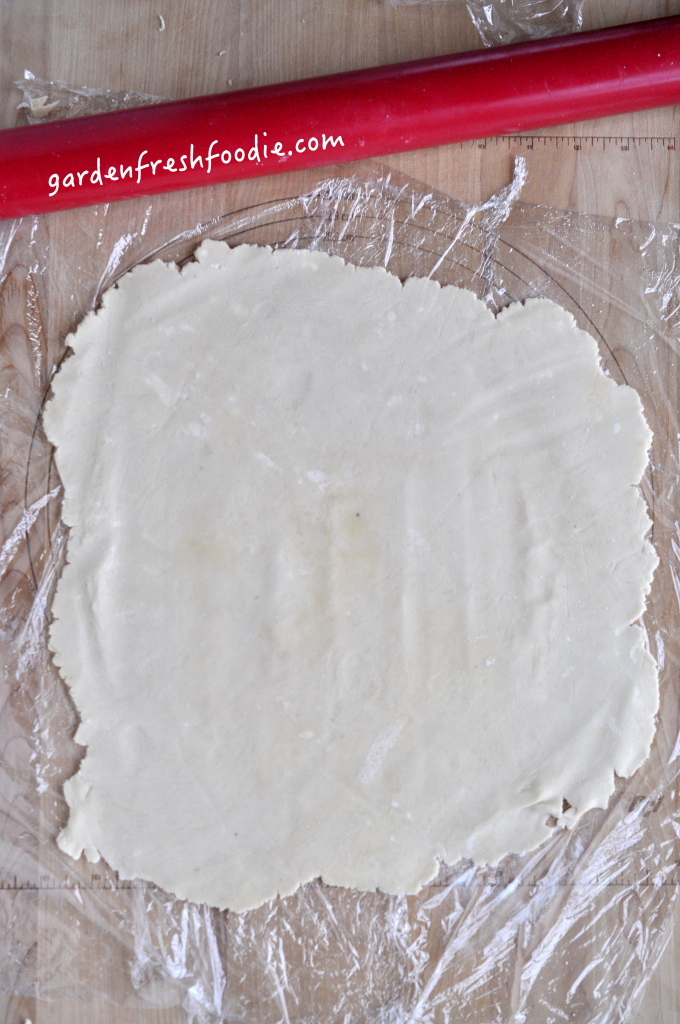 ****Feel free to make this as just the filling! To do so: sauté the filling in batches, and serve topped with our coconut whipped cream and top with some toasted nuts or oats for a much healthier dessert or make this apple cobbler!
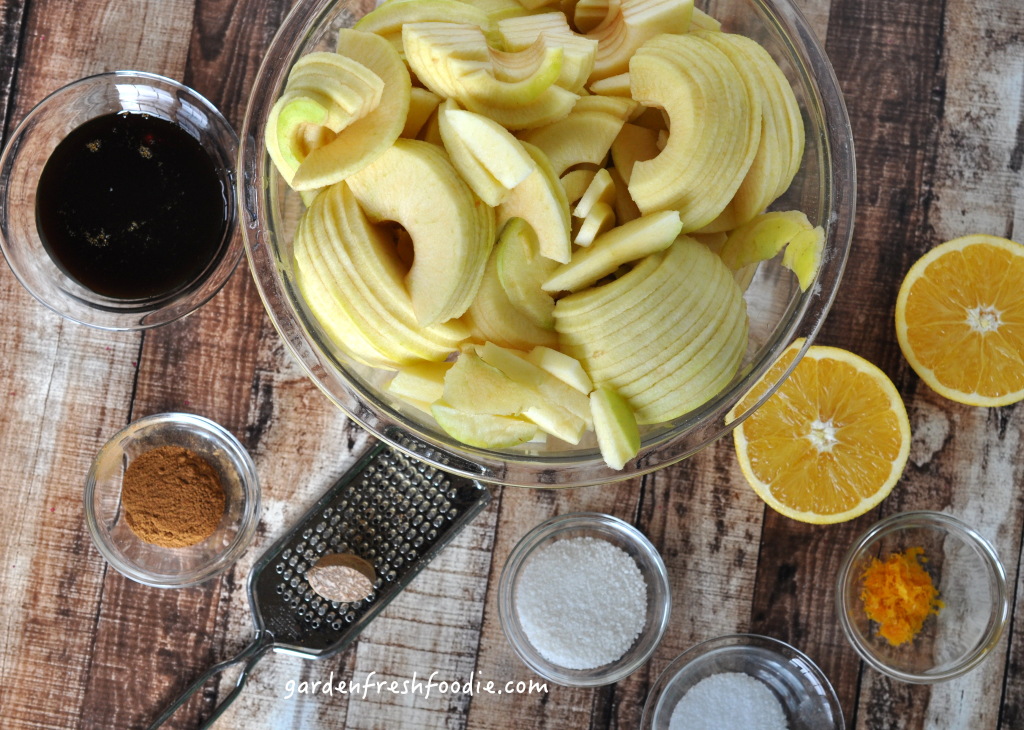
Ingredients:
- One full recipe of Garden Fresh Foodie’s Gluten Free Pie Dough
- 4 #’s of apples, peeled and sliced (we use an apple peeler, goes much faster)
- 2 tsp cinnamon
- 2 tbsp of tapioca granules, we use instant organic
- 1/4 c. honey (we use Buckwheat)
- 1/2 tsp nutmeg (fresh is best)
- pinch of salt (about 1/8 tsp)
- zest of 1 orange and 2 tbsp fresh orange juice
Instructions:
- Roll out bottom crust and place sheets of plastic wrap to cover and place back into the fridge. For more directions, see our gluten free pie crust recipe.
- Mix all ingredients into a large bowl.
- Pour filling into prepared pie shell, heaping it tall. The filling will shrink as it bakes and you want a very full pie. If you feel you have extra, set it aside, as it is awesome sautéed on top of some oatmeal or eaten on its own as a dessert!
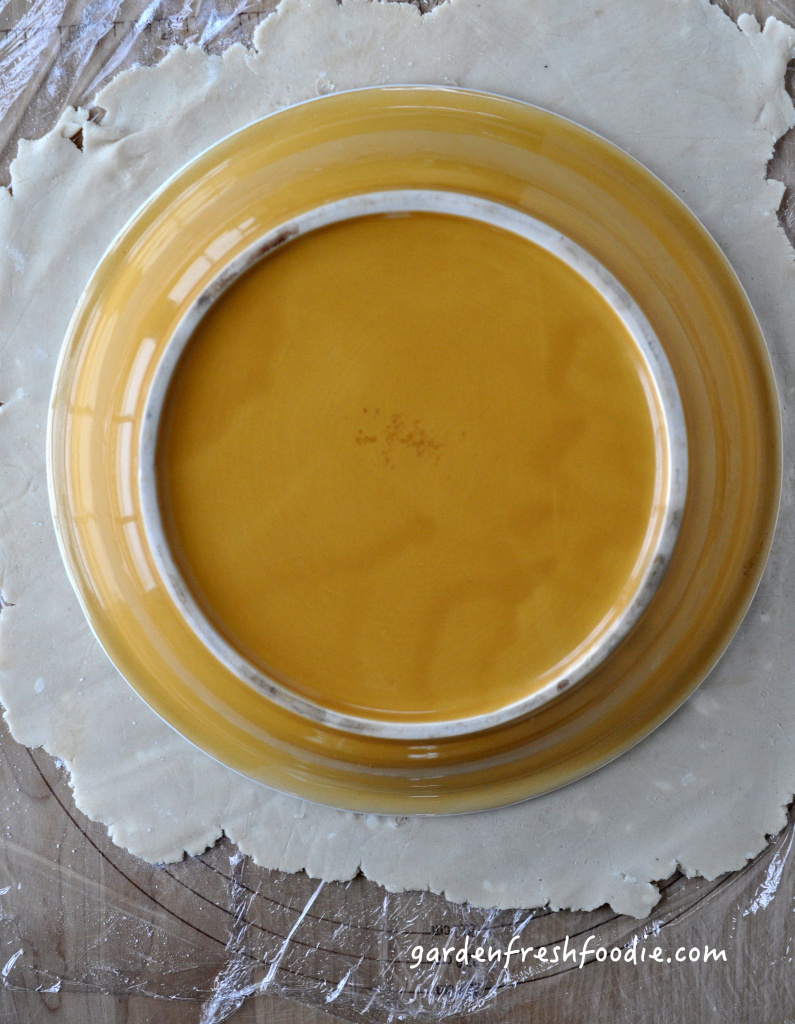
- Roll out top crust layer. Place on top of apples and seal, creating pretty edges as you bring the lower and upper crusts together. The crust is pretty forgiving. If it rips slightly, don’t freak! It can be smooched back together. Use fingers to smooth it out if needed.
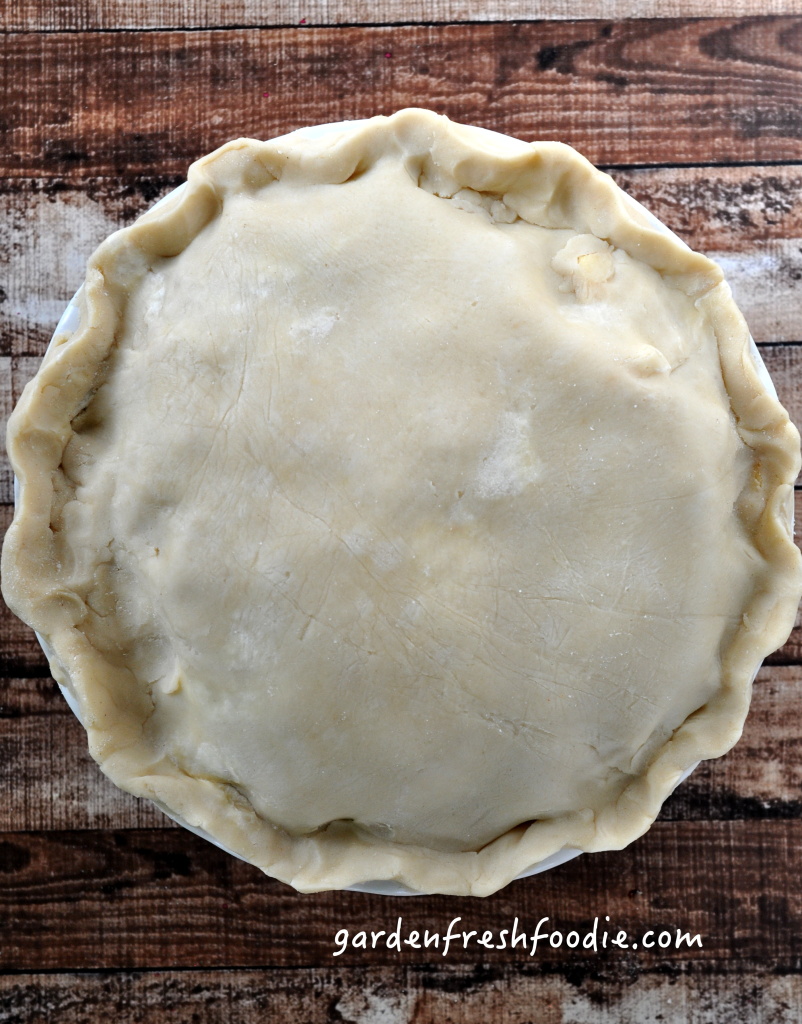
- Cut a decoration in pie crust if desired. Cover edges of crust with pie protectors or tin foil to avoid the edges burning. They will still brown nicely under the foil
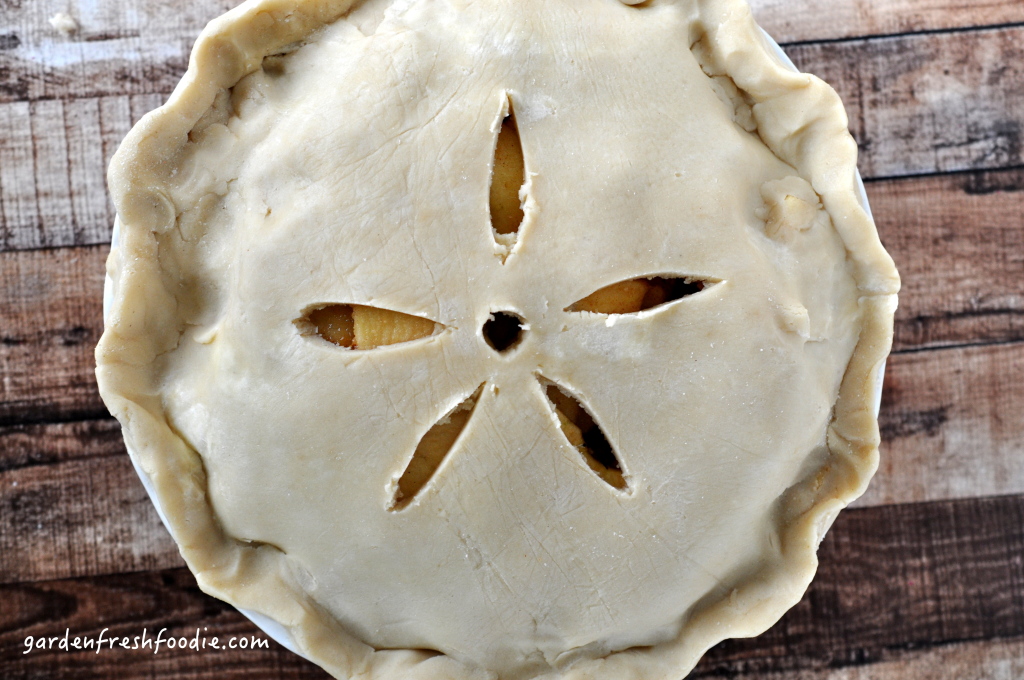
- Place onto a cookie sheet (as it often bubbles out of the crust) and place into a 375 degree oven. Bake until you smell the pie, the filling is bubbling, and the crust has browned nicely. Around 60-70 minutes. Watch it though, you don’t want it to burn!
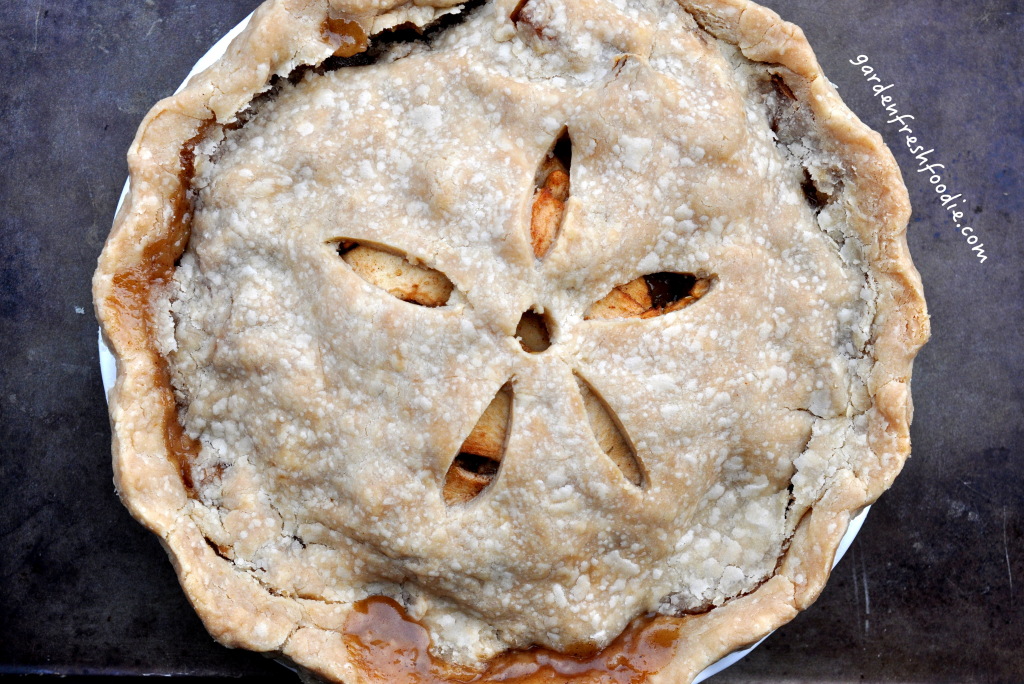
- Serve with your favorite coconut whipped cream or on its own.
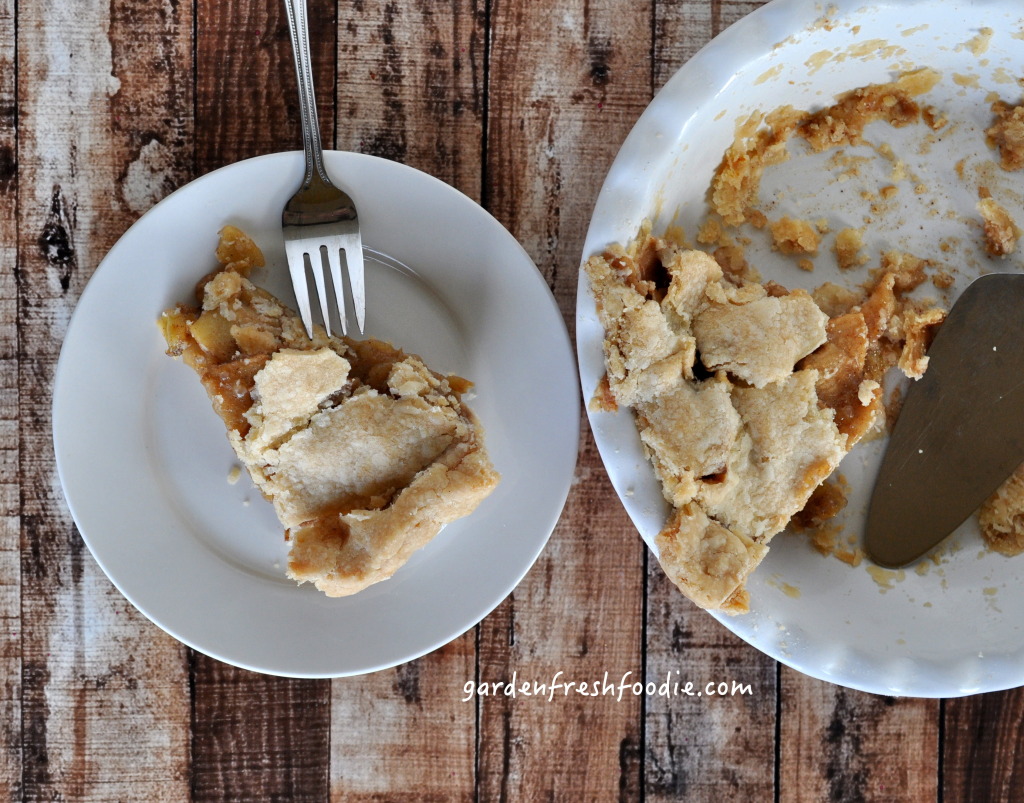
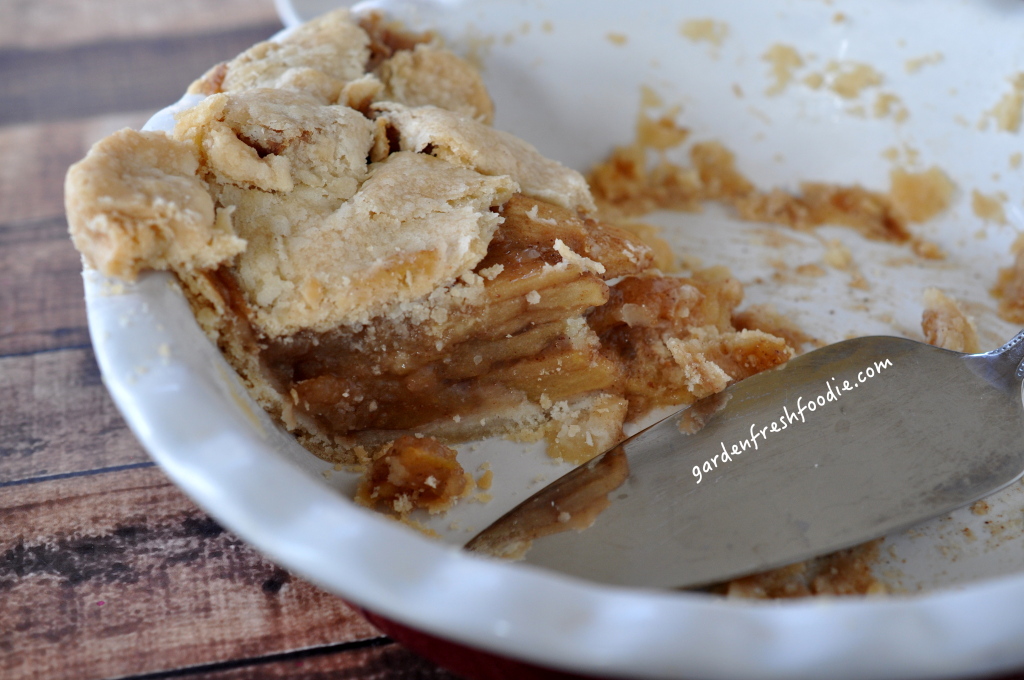
- One full recipe of our gluten free pie dough (or recipe of choice)
- 4 #'s of apples, peeled and sliced (we use an apple peeler, goes much faster)
- 2 tsp cinnamon
- 2 tbsp of tapioca granules, we use instant organic
- ¼ c. honey (we use Buckwheat)
- ½ tsp nutmeg (fresh is best)
- pinch of salt (about ⅛ tsp)
- zest of 1 orange and 2 tbsp fresh orange juice
- Roll out bottom crust and place sheets of plastic wrap to cover and place back into the fridge. For more directions, see our gluten free pie crust recipe.
- Mix all ingredients into a large bowl.
- Pour filling into prepared pie shell, heaping it tall. The filling will shrink as it bakes and you want a very full pie. If you feel you have extra, set it aside, as it is awesome sautéed on top of some oatmeal or eaten on its own as a dessert!
- Roll out top crust layer. Place on top of apples and seal, creating pretty edges as you bring the lower and upper crusts together. The crust is pretty forgiving. If it rips slightly, don't freak! It can be smooched back together. Use fingers to smooth it out if needed.
- Cut a decoration in pie crust if desired. Cover edges of crust with pie protectors or tin foil to avoid the edges burning. They will still brown nicely under the foil
- Place onto a cookie sheet (as it often bubbles out of the crust) and place into a 375 degree oven. Bake until you smell the pie, the filling is bubbling, and the crust has browned nicely. Around 60-70 minutes. Watch it though, you don't want it to burn!
- Serve with your favorite
- coconut whipped cream
- or on its own.
