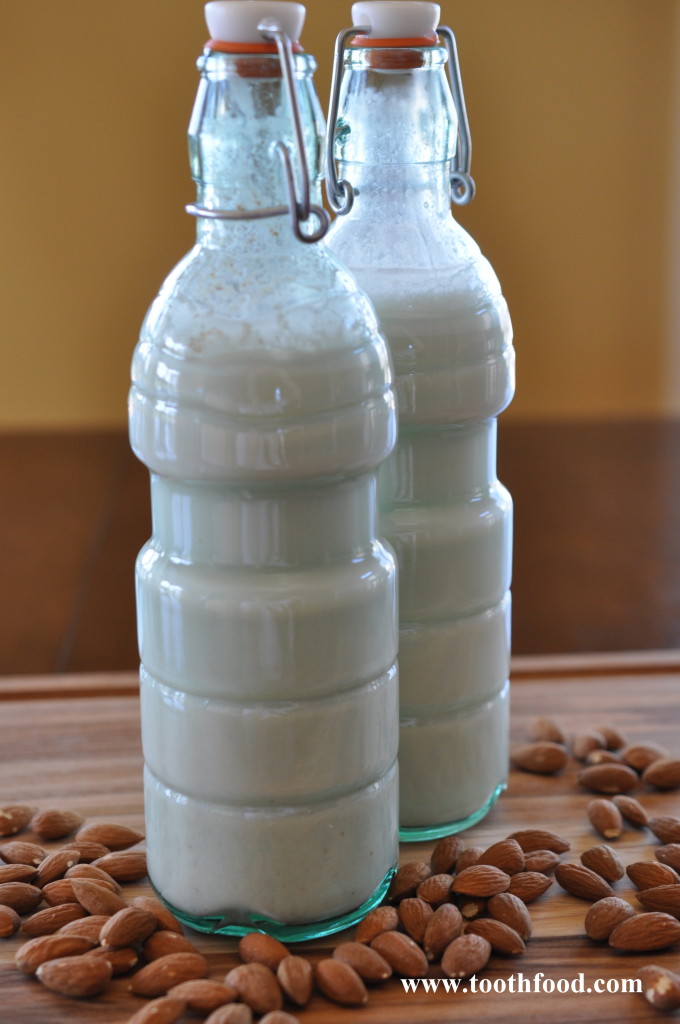
 Have you ever read the side of an almond milk container? There are tons of additives that are unnecessary in dairy-free milks. Making your own nut milks is as easy as soaking the nuts over night. All a nut milk really should contain is the raw nut and water (unless you want to flavor it with vanilla or turmeric). That’s it. No gums, colors, sweeteners, or other additives, just the real whole food. Sound nuts?!
Go visit your local health food store or Coop and you should be able to buy a nut-milk bag, I know, just saying it makes my husband laugh like an 8 year old boy. If you can’t find one, you can use cheesecloth, it’s just not something you can then reuse. The one I bought set me back $2.50, is nylon, and easy to wash and dry. One other thing you’ll probably want to invest in is a funnel to help you pour the milk into the container of choice. I got mine at Bed Bath and Beyond, but any store should have them.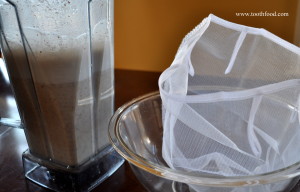
The best thing about making your own, is that you’ll never run out. Just plan the night before to soak, and you’re ready to go in the morning.
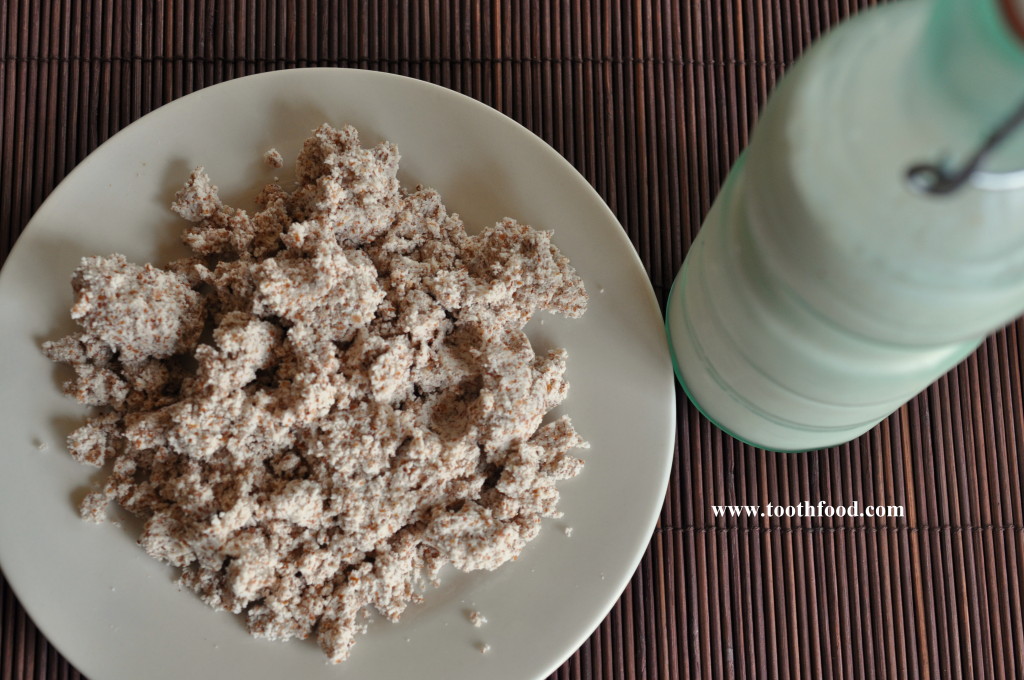
You’ll be left with a pulp when you’re finished squeezing out the milk. Click here for a delicious recipe on almond truffles as a way to use up that pulp. Don’t toss it!
Ingredients:
- 4 cups of filtered water
- 1 cup of soaked almonds or other nut of choice (soaked for 8-10 hours, overnight)
Instructions:
- To soak almonds (or any food): cover with filtered water about 1 inch above, soak overnight or 8-10 hours
- Strain almonds and place into Vitamix or blender covered with 4 cups of filtered water
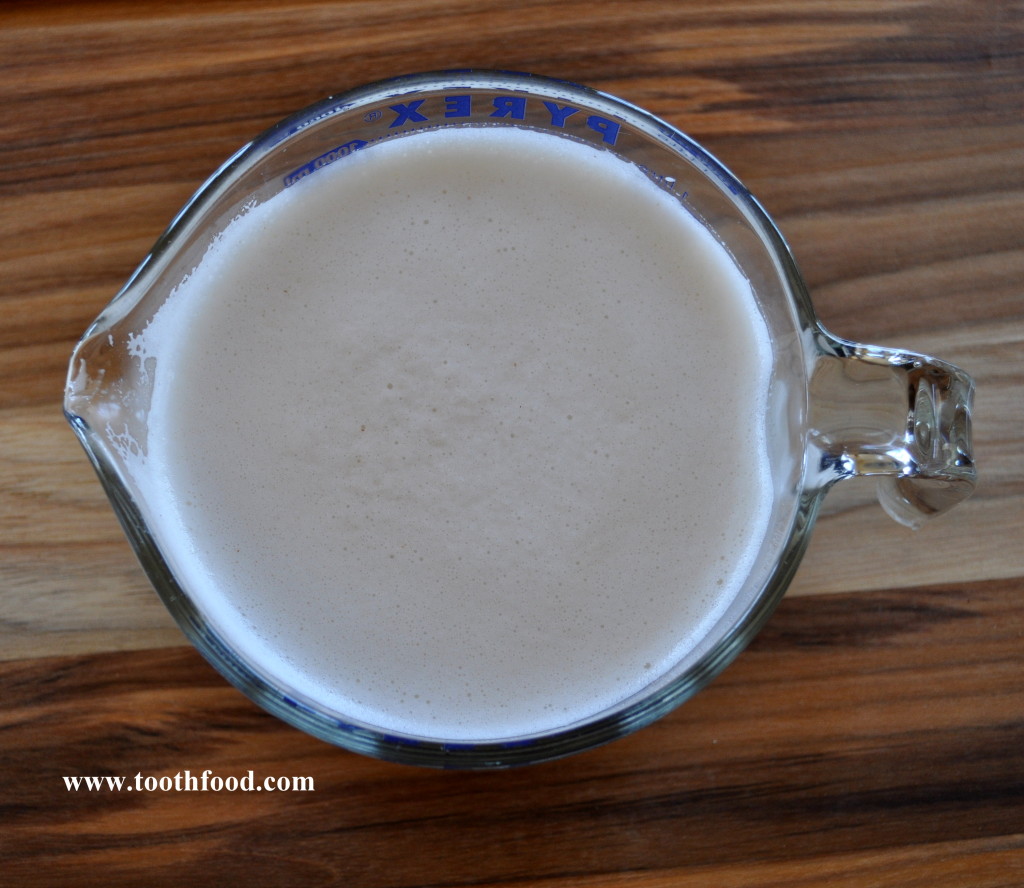
- Blend until no pieces remain
- Place bag into a large bowl and pour contents of blender into bag
- Squeeze out the milk from bag, making sure all remaining liquid is removed (can be a little messy, but fun for a kid to do)
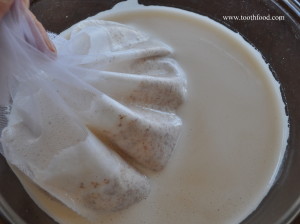
- Pour into desire container and save the pulp that remains to make some yummy raw truffles
