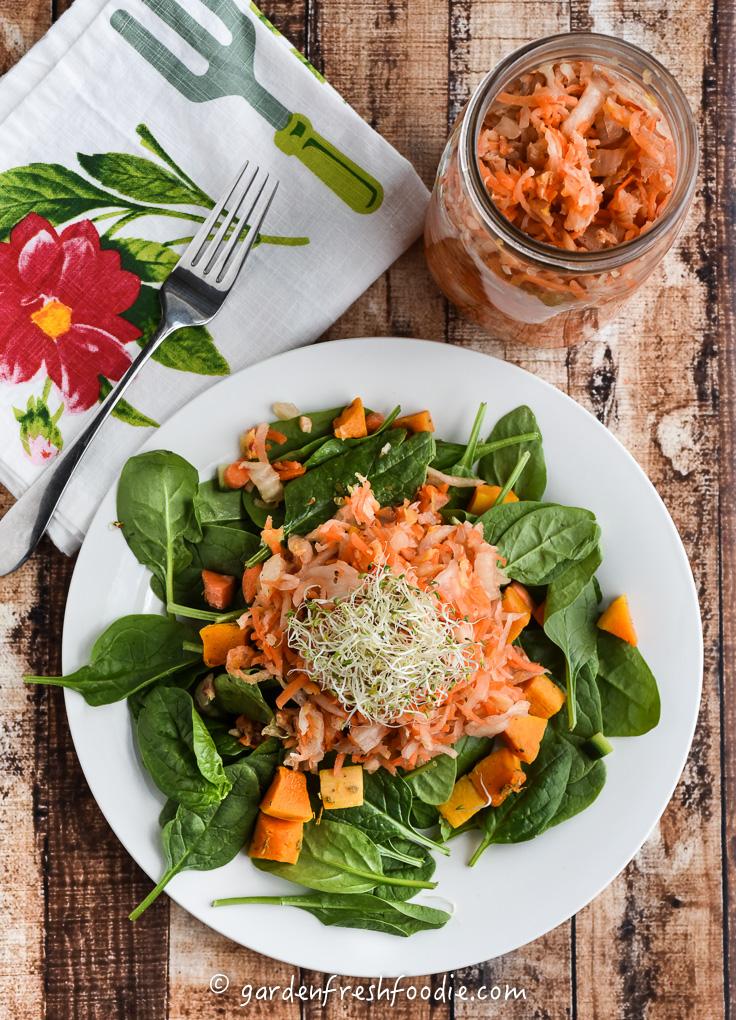
Ginger Carrot Kimchi With Fresh Alfalfa Sprouts
Fermented foods have amazing healing power on the intestinal health of your gut. Yup! I’m talking gut health! For millennia, Asian and European cultures fermented foods to extend seasonal harvests. Fermented foods also help to re-establish proper balance of microbial activity in the digestive system. Our bodies need healthy levels of bacteria. The current American diet destroys the balance of these microbes, throwing our systems out of whack. The constant ingestion of hormones and antibiotics from our food system destroys the good guys that help keep you in line. Think you don’t take antibiotics much? If you’re eating meat at all, you are. Feed lot animals are fed constant amounts of hormones and antibiotics to allow them to live in such close quarters. Same goes for the dairy industry. Animals can’t live on the diet the industrial system has created for them. They get sick. They’re fed antibiotics. Where do those go? Into your body. What’s the result? Antibiotic resistance and destruction of healthy gut bacteria.
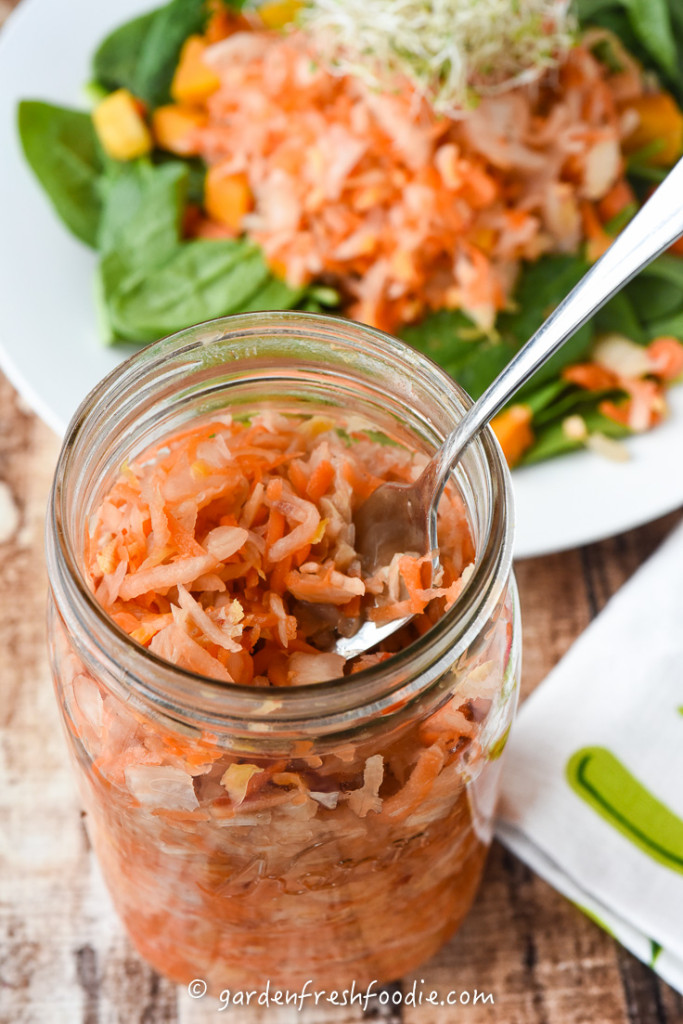
Eating fermented foods will help to reestablish this delicate balance. Fermented foods are simply foods that have sat at room temperature and begin to break down. Bacteria are responsible of this breakdown process, and multiply within the food. There is a balance between healthy and unhealthy bacteria. You don’t want the foods to rot, and create molds. The acidic levels of the foods will prevent this if handled properly. Foods are left to ferment for a few days-1 week, depending on household temperature. The warmer it is, the shorter the fermentation time needed. You also want to make sure you’re starting with clean tools and containers. It’s so easy to make your own fermented foods. I couldn’t believe I had been paying so much for kimchi, and how easy it is to make it! I’ll never purchase it again!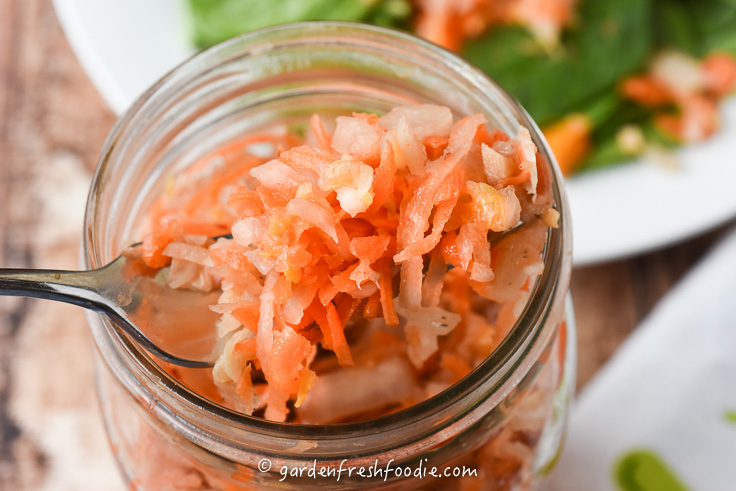
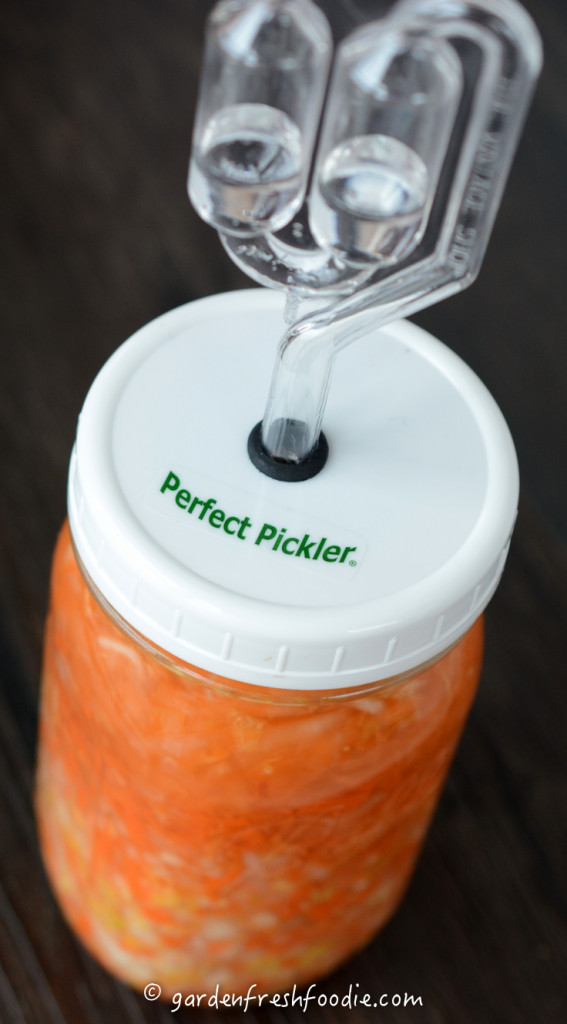
A little apparatus I purchased is called the Perfect Pickler® Fermenting Kit (this link will take you to amazon). Since I was a little nervous to start off on this mice-bio experiment, I wanted a little control. You can probably also find these in your health food store. I have since made kimchi using a simple mesh screen over a canning jar, and securing it with a screw band, although this does stink up your house a little. You can then cover this with a towel. There are also supplies of fermentation jugs out there. See what you like. My perfect pickler ran me about $20. I recommend getting 2 so you can make a good batch, or get a 2 quart jar.
This kimchi recipe is great as a slaw too. If making as a slaw decrease salt amount. Salt to taste, adding enough to reduce the cabbage by half. Probably about half of the amount used to make kimchi.
The ingredients in this dish are packed with nutrition. Napa Cabbage is an excellent source of vitamin C and a very good source of manganese. Cabbage and daikon radishes are both cruciferous veggies. This group of veggies are packed with phytonutrients, and should be consumed at least 5 times a week. They contain polyphenols that are high in antioxidants and help with decreasing inflammation in the body. Cabbage and radishes are high in fiber and help to bind to other fats consumed by the body. As it does this, they help to eliminate them from the body, and reduce overall cholesterol. More info on cabbage. Ginger and garlic are also amazing spices. Garlic helps with circulation and helps fight infection, while ginger helps to calm the digestive system (it’s great for nausea). Carrots are packed with Vitamin A which helps with skin, eye, and hair health, and overall inflammation in the body. 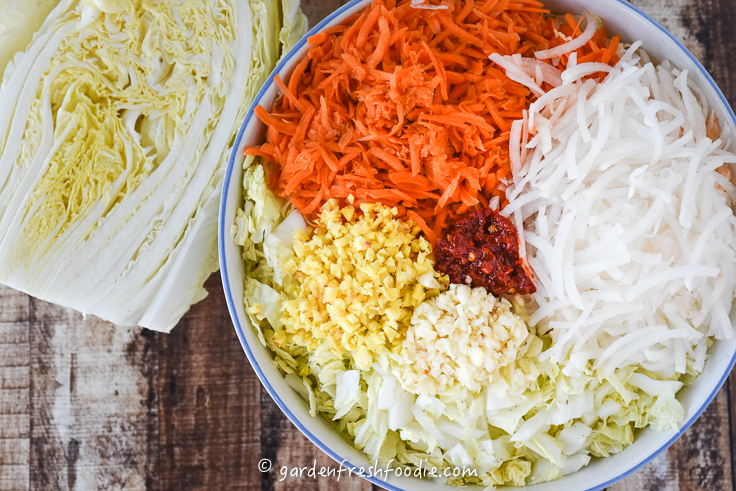
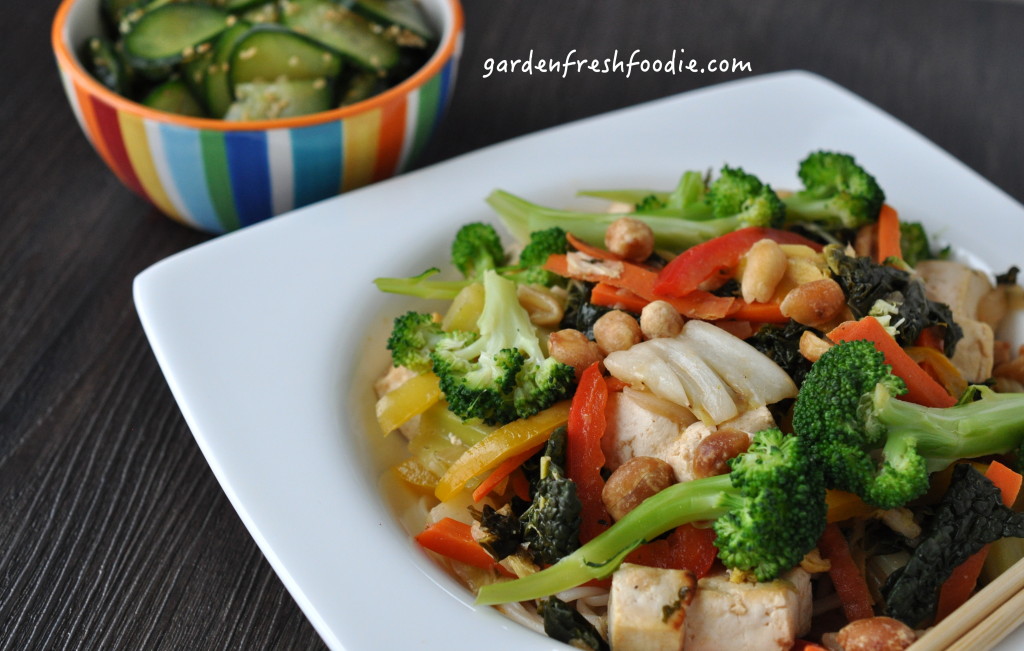
This makes 1 quart. I double the recipe to make 2 quarts, using a whole head of Napa. I have recently made this same recipe by swapping out the radish for beets. It produced more water, and I had to remove more brine than with the radishes, but it’s really pretty! If you’re going to make one batch and have left over Napa Cabbage, make this stir fry!
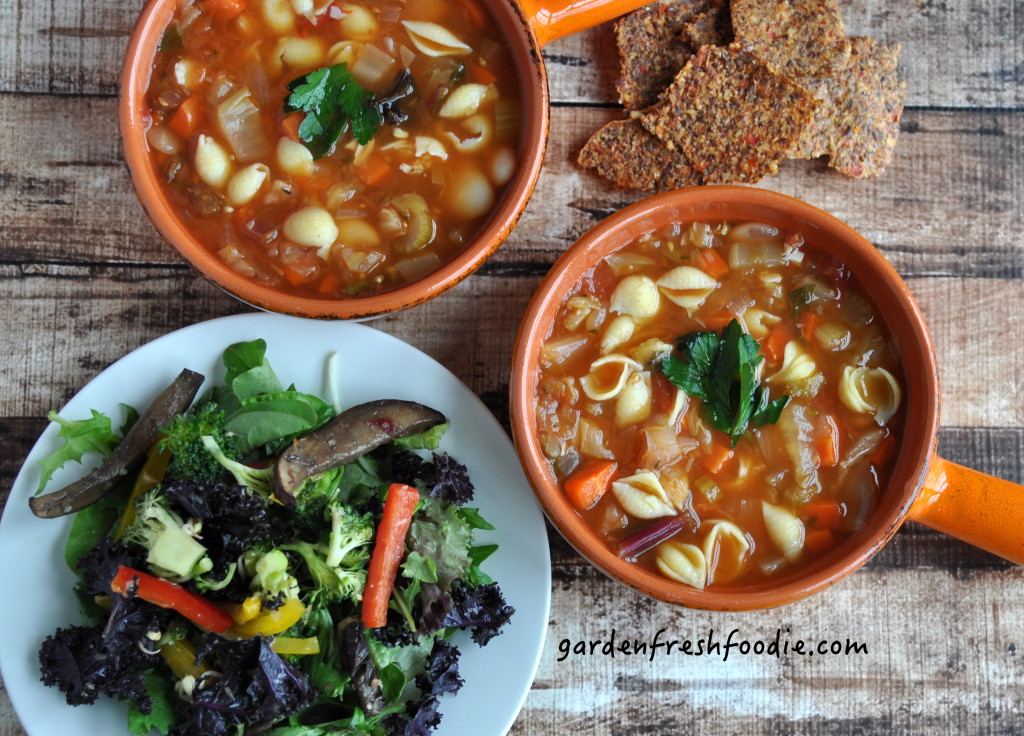
 Or my pasta fagioli:
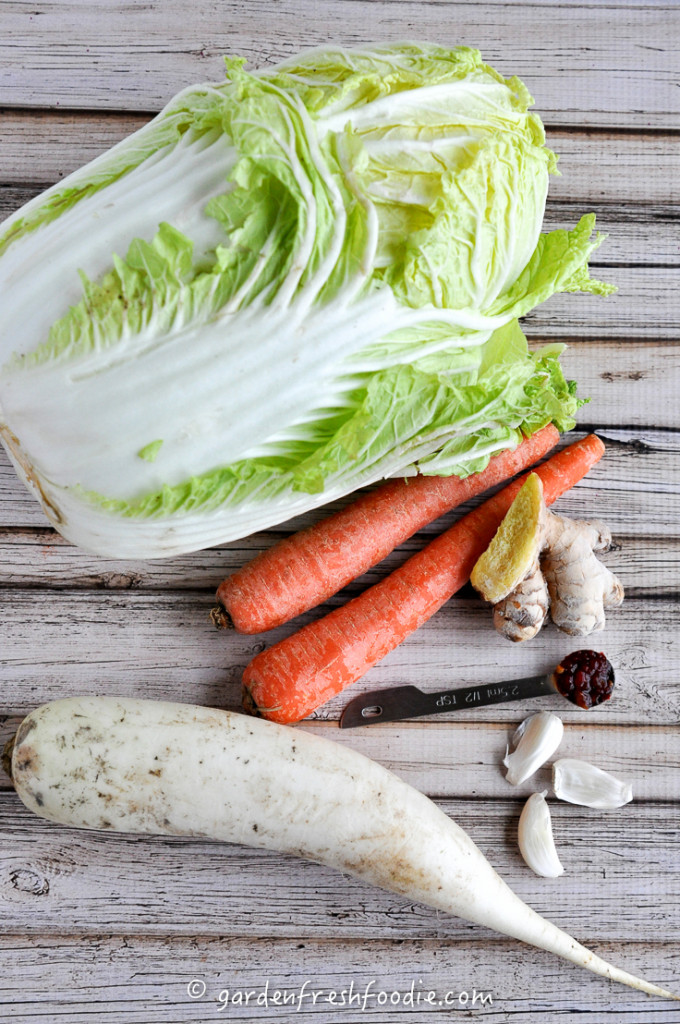
Ingredients:
- 6 cups Shredded Napa Cabbage
- 1 cup Shredded Daicon Radish (or can swap with beets-see note above)
- 1 cup Shredded Carrots
- 2 tbsp minced ginger
- 1 tbsp minced garlic
- 2 tsp chili garlic paste or harissa (I found the harissa to not have enough zing)
- 2 tsp kosher salt
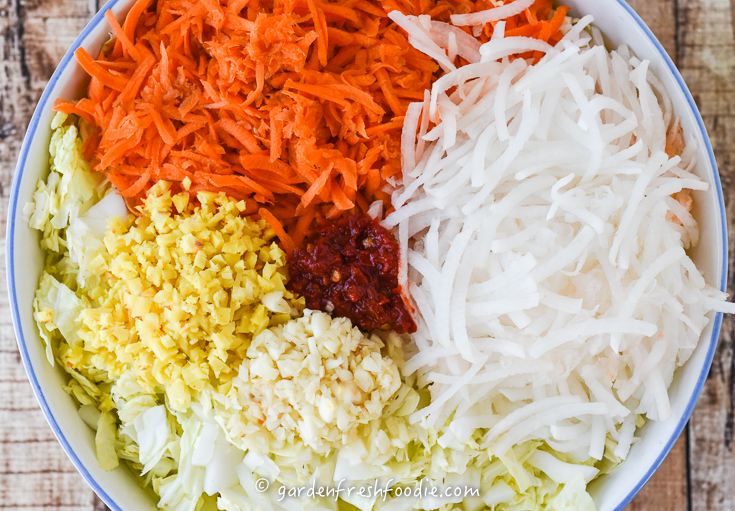
Instructions:
- Place all ingredients into a large bowl and mix, mashing down ingredients.
- The cabbage will shrink considerably, keep mashing for a few minutes. Cover and place into a fridge overnight for a brine to form.
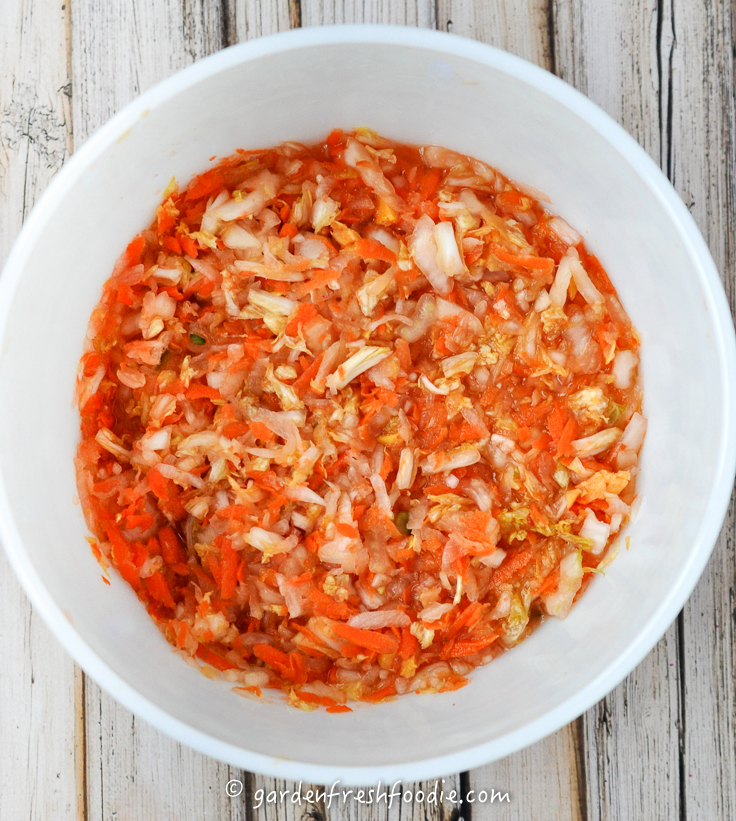
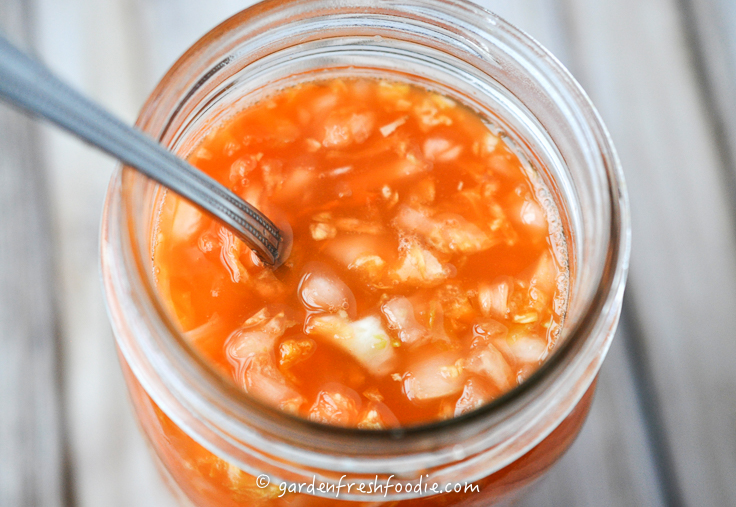
- The next day, smoosh kimchi mixture into jars, pushing down as much as possible. Leave 2 inch head space at top of jars, making sure there is enough liquid to cover the kimchi
- Place Perfect Pickler® Fermenting Kit on top or nylon mesh/cheesecloth over the top of the jars. I place a container underneath to prevent the juice from overflowing onto counter.
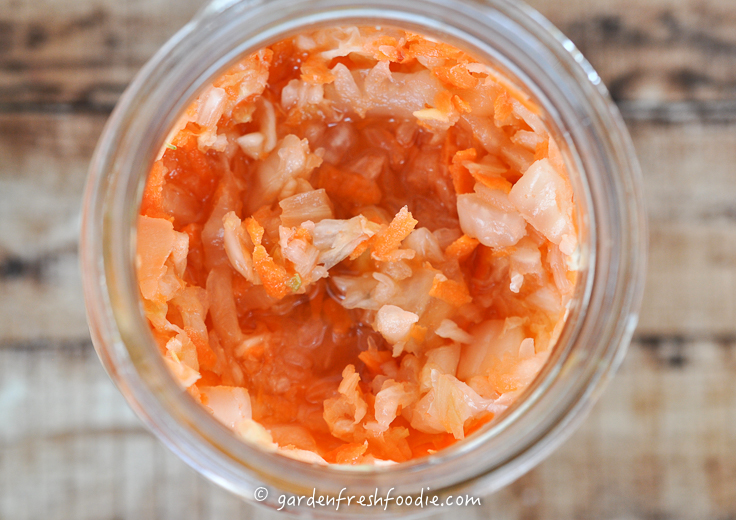
- Check after 2 days, making sure the kimchi is submerged under brine. If not, push it back down. If there is a slight whitening/drying of top layer, scoop off and discard (this happens only in the container with a mesh cover). You may have to pour off some bring if you’re getting too much overflowing.
- Continue letting kimchi sit until you like the taste, about 5-7 days (again, the warmer it is, the faster this will take).
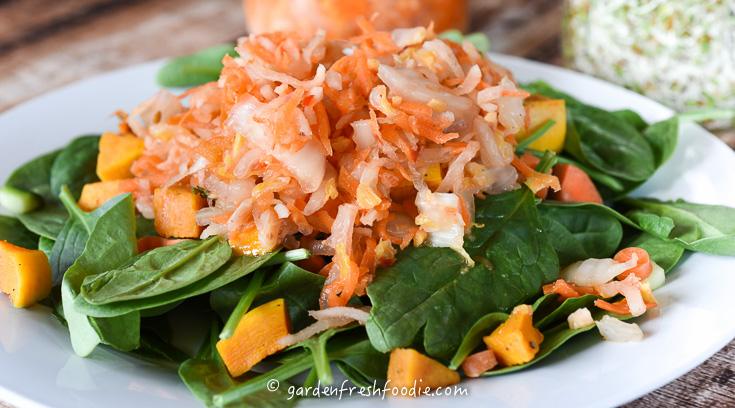
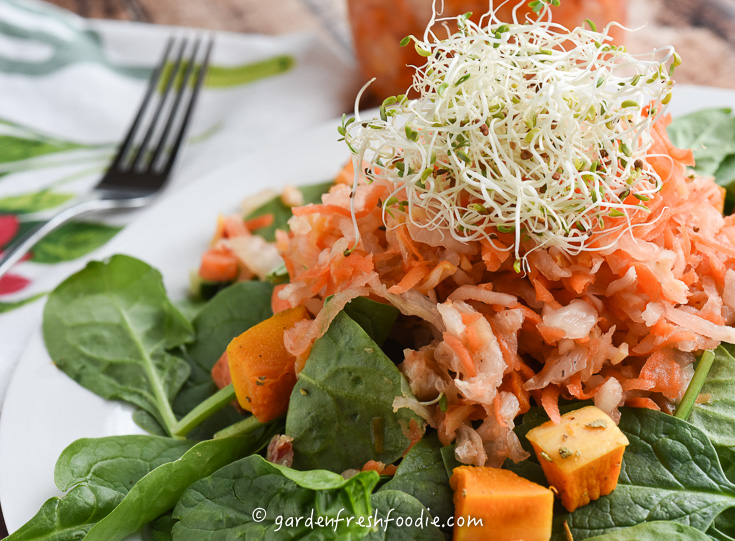
- Serve on top of salads or eat on its own. If you’re interested in learning how to grow your own sprouts, as pictured, click here.
Nutritional Information:
- Very low in calories (182 in entire jar)
- Raw and fermented, more easily digested by the body, boosts gut health and proper microbio activity in the body
- Packed with Vitamin C: 349% in entire jar, great for immune support, antioxidant, anti-inflammatory
- 1741 mg of potassium, in entire jar; good for decreasing blood pressure, regulating nervous, heart, and kidney function
- 287% Vitamin A in entire jar, great for skin, eye, hair health as well as decreasing inflammation in body
- 34% calcium; good for bones and teeth
- 6 cups Shredded Napa Cabbage
- 1 cup Shredded Daicon Radish (or can swap with beets-see note above)
- 1 cup Shredded Carrots
- 2 tbsp minced ginger
- 1 tbsp minced garlic
- 2 tsp chili garlic paste or harissa (I found the harissa to not have enough zing)
- 2 tsp kosher salt
- Place all ingredients into a large bowl and mix, mashing down ingredients.
- The cabbage will shrink considerably, keep mashing for a few minutes. Cover and place into a fridge overnight for a brine to form.
- The next day, smoosh kimchi mixture into jars, pushing down as much as possible. Leave 2 inch head space at top of jars, making sure there is enough liquid to cover the kimchi
- Place
- Perfect Pickler® Fermenting Kit
- on top or nylon mesh/cheesecloth over the top of the jars. I place a container underneath to prevent the juice from overflowing onto counter.
- Check after 2 days, making sure the kimchi is submerged under brine. If not, push it back down. If there is a slight whitening/drying of top layer, scoop off and discard (this happens only in the container with a mesh cover). You may have to pour off some bring if you're getting too much overflowing.
- Continue letting kimchi sit until you like the taste, about 5-7 days (again, the warmer it is, the faster this will take).
- Serve on top of salads or eat on its own.



Love your kimchi recipe. Before making kimchi on my own, I searched for several recipes on the Internet before deciding to make yours. It’s e
Fairly easy to make, I like all the ingredients that you use, and it tastes great!
Thank you for posting it.
So glad you like it Joanne! It can be modified with whatever is in season as well. If you want to add in fresh herbs or swap out carrots for celeriac or parsnips, or red radish for daikon, feel free to play around with it!