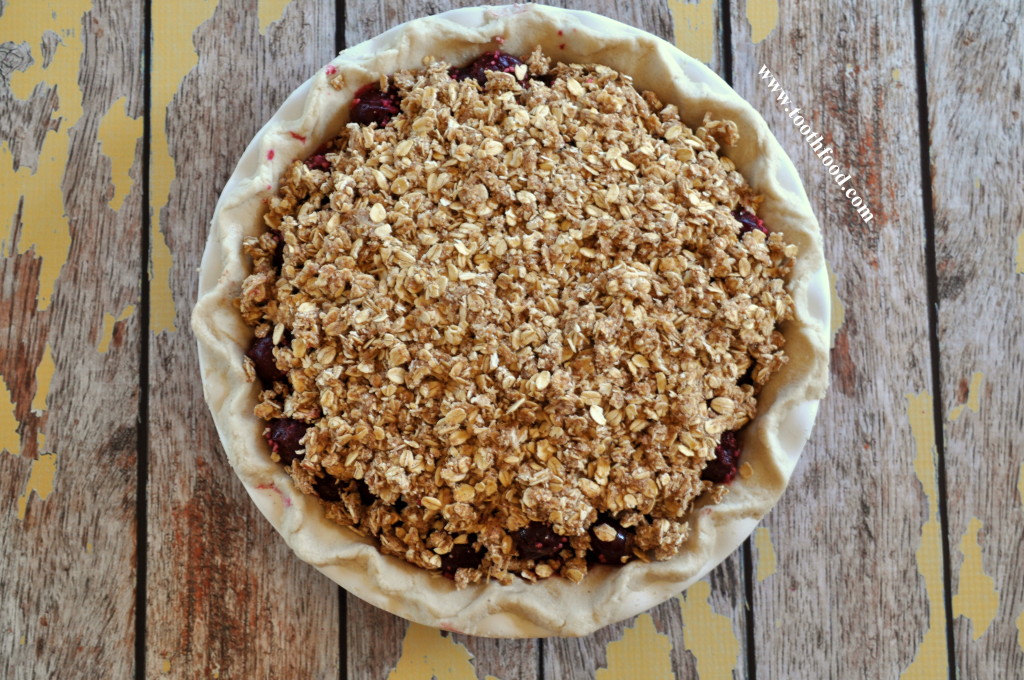
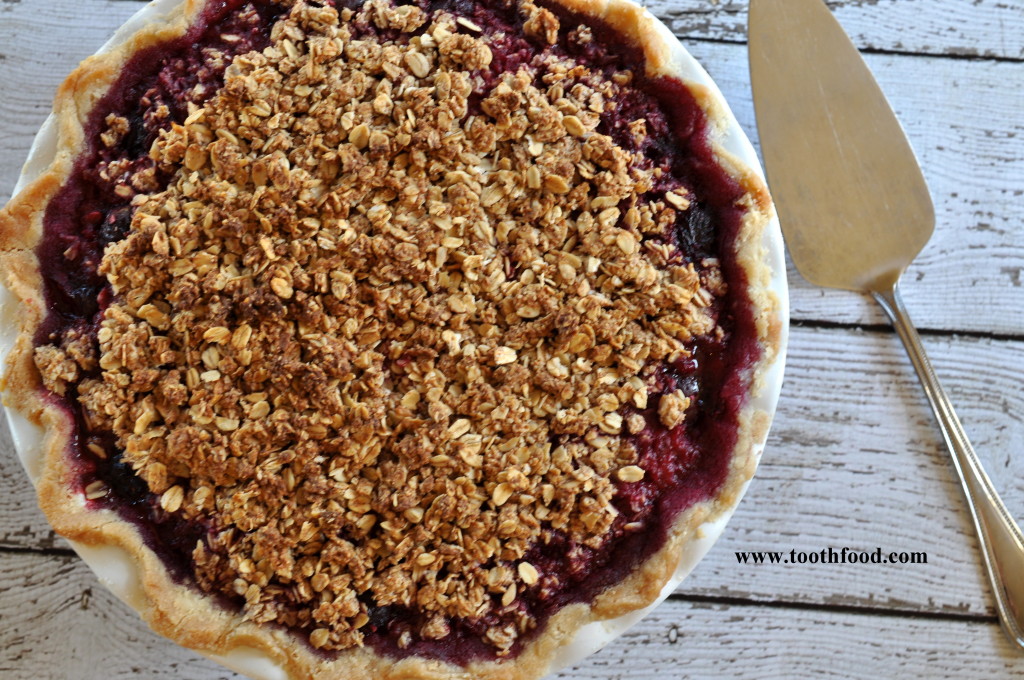
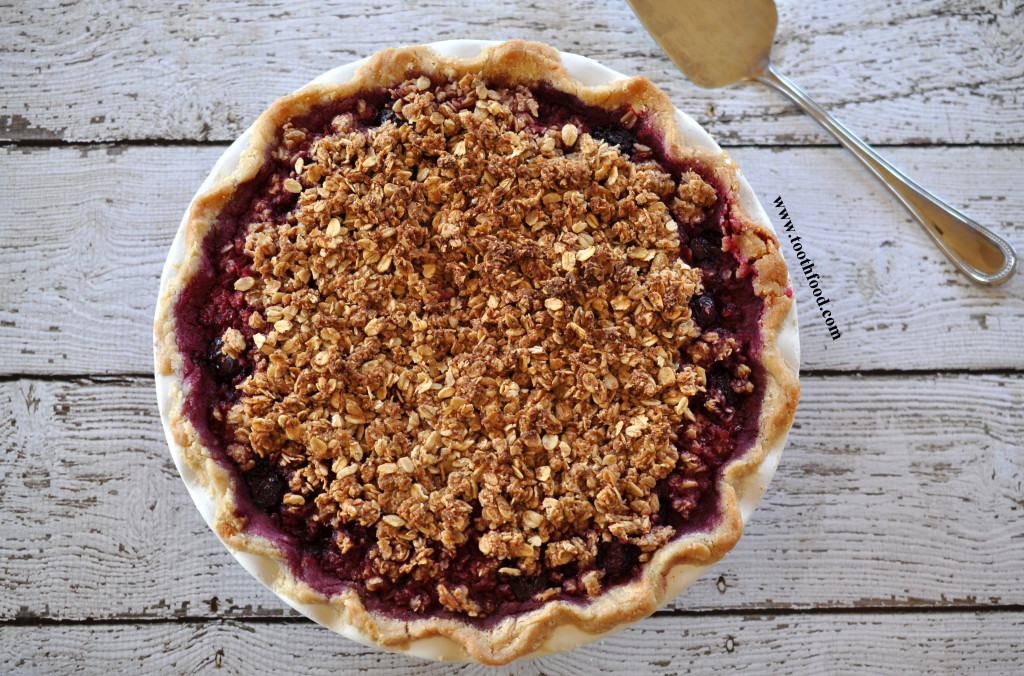
 Cherry Pie-yes pppppllllease! So it’s cherry season here in the Northeast. But-I still had frozen cherries from last year! What to do?! Make some pie of course and wave that American flag! Before we go picking for this year, and fill the freezer with this year’s crop, I wanted to create a pie that was a lot healthier than a typical version. I have always found cherry pies to be delicious, but way too sweet. I love fruit desserts. I’m great without the crust, since I feel that it’s unnecessary calories, and I just want to eat the fruit and crunchy topping. However, our friends and family like the crust of a pie, so we made one. The recipe below has options for both gluten free and full-out gluten crust, if you prefer. Feel free to omit the pie crust all together and transform this into a cobbler. The filling and topping are the best part anyways! Don’t you want to reach into the screen and eat this now?!!
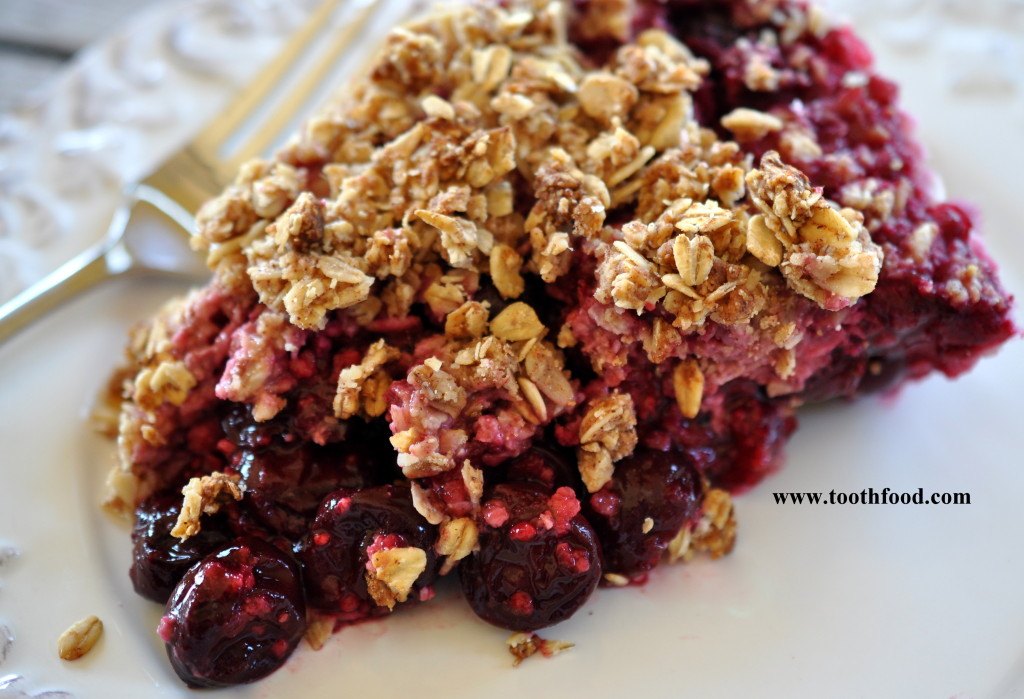
Cherries, like all fruits freeze amazingly. Pit, wash, and freeze on a cookie sheet for 2 hours. Then pack in vacuum bags for best results. They also store well dried. To do so, wash, pit, and place on a dehydrator for about 8-12 hours at 130 degrees. Be sure to have cherries pitted pitted or they won’t dry (this is often tricky, since there are always some that get by you). We used these cherries straight from our freezer (which is why they look a little white below).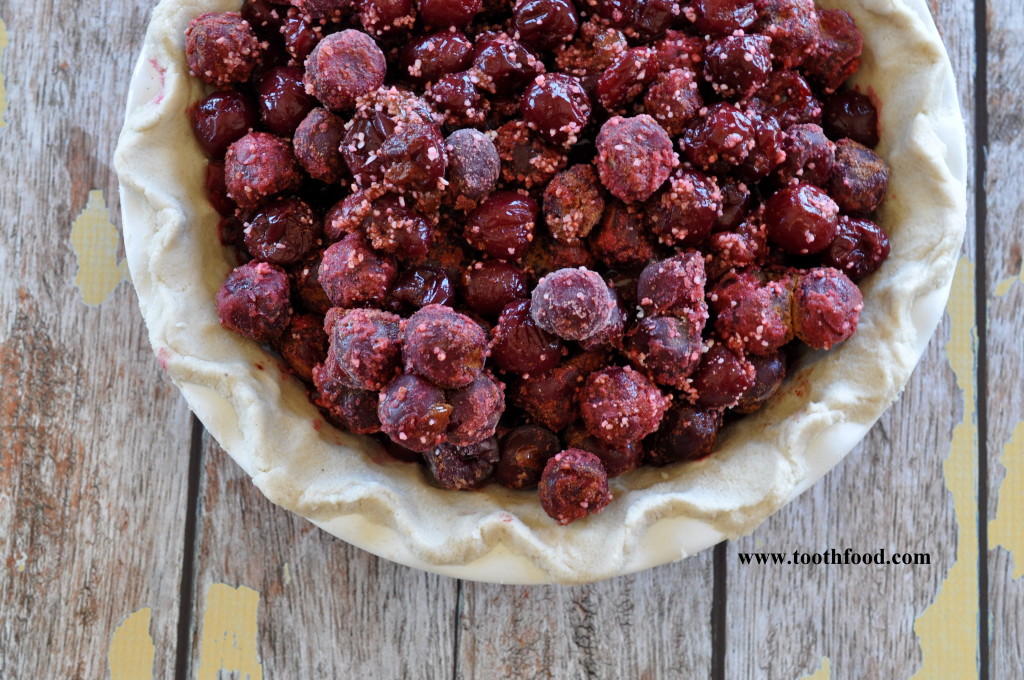
We used the gluten free pie crust recipe we created below. It doesn’t roll out well, but does press into a pie plate easily. It hardens up if placed into the fridge, so press into pie plate right away, cover and refrigerate until ready to fill (can be done the day before). If gluten isn’t a problem for you, sub the rice flour for whole wheat pastry flour. You could alternatively try this dough with oat flour. It’s my next conquest. If you do, let me know how it goes!
Ingredients:
Cherry Pie Filling:
- 3 pounds of sweet cherries (if using tarts, you might want to up the sugar a little)
- 3 tsp cinnamon
- 3 tbsp organic quick cooking tapioca
- 2 tbsp honey (or liquid sweetener of choice)
Topping:
Gluten Free Pie Crust (makes one shell): If whole wheat flour is desired, use whole wheat pastry flour in place of the rice flour, water amount might need to be adjusted.
- 1 cup brown rice flour (about 130 g)
- 1/4 cup plus 2 tbsp coconut oil
- 1/4 tsp salt
- 1/2 tsp raw sugar
- 4 tbsp ice water
Instructions:
- If making pie crust, place all ingredients except water into a food processor. While it’s running, slowly add in ice water until dough comes together in a ball. (alternatively use a prepared crust). If you don’t have a food processor, place flour, salt, and sugar into a bowl. Using your hands or a pastry cutter, mix in the coconut oil. Once mixed, gradually add in ice water until dough softens and feels like a workable dough.
- Press dough into a pie 9″ deep dish plate, crimping the edges to make it look pretty! Cover with plastic wrap and place in fridge until ready to fill.
- In a separate bowl, mix together pie filling ingredients. You can use cherries straight from the freezer or fresh ones. When ready to make your pie, pour ingredients into pie shell.
- In another bowl, mix together topping ingredients and press on top of pie filling. We had a little extra that we didn’t use, set it aside and save it for some fresh fruit one night. Place on top and heat for a quick dessert.
- Place pie on a cookie sheet. Don’t skip this!!! Your pie will most likely bubble over a little, so do this to prevent making a mess in your oven. Wrap some tin foil onto the exposed crust. This prevents the crust edges from getting burnt. They will still brown up covered.
- Bake at 375 fro about 60-70 minutes, until pie filling is bubbling and looks set (it has thickened).
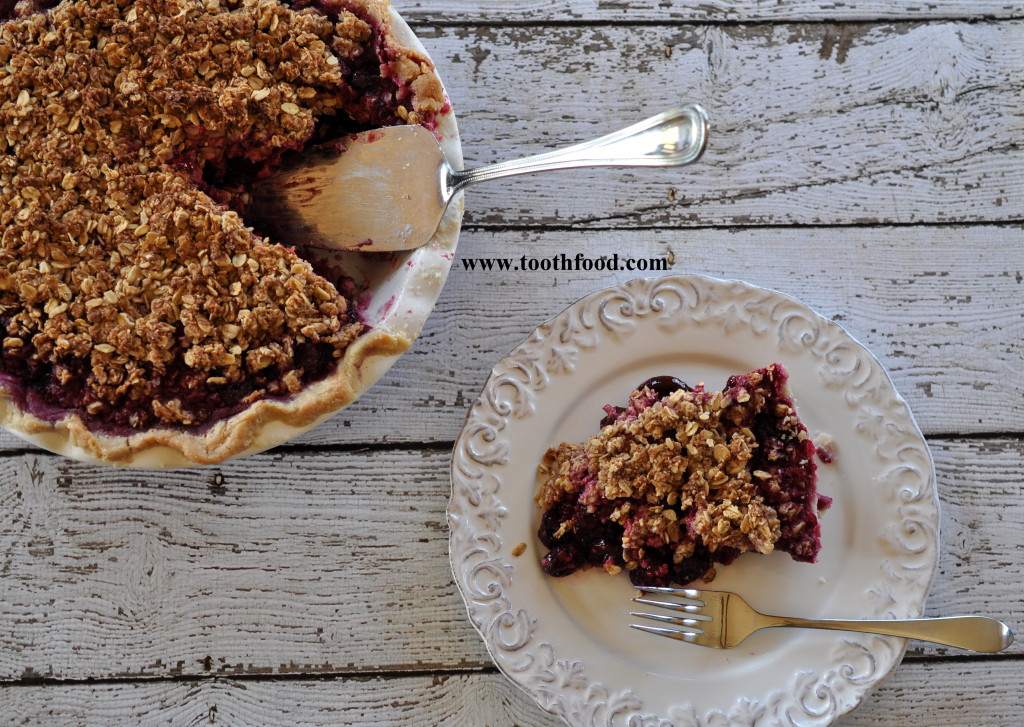
- Let cool for 20 minutes before slicing. Stores well in fridge for a week and is great cold too!
Nutritional Benefits:
- Cherries: cherries are packed full of antioxidants! They’re great for reducing inflammation. While both tarts and sweet cherries have amazing antioxidants, tart cherries contain higher amounts of inflammatory benefits. Cherries have been shown to help with gout, arthritis, reduce cholesterol, heart disease, diabetes, and other inflammatory diseases. Cherries also improve bone health, and have melatonin, the chemical that helps to induce sleep. Cherries are also high in fiber, helping to regulate blood sugar levels
- Oats: high in fiber and healthy fats; helps to regulate blood sugar levels, decrease cholesterol levels
- Plant-based recipe/Vegan and Gluten Free-helps with inflammation
- Omit the crust and this is low in fat/no cholesterol in this dessert! Heart healthy if you omit the crust (crust doesn’t add any healthy calories, primarily saturated fat and carbs)
- Low in added sugar: nothing refined
- 3 pounds of sweet cherries (if using tarts, you might want to up the sugar a little)
- 3 tsp cinnamon
- 3 tbsp organic quick cooking tapioca
- 2 tbsp honey (or liquid sweetener of choice)
- 2 cups oats
- ½ cup oat flour
- 3 tbsp honey
- ¼ cup of coconut oil
- 2 tsp cinnamon
- ⅛ tsp salt
- 1 cup brown rice flour
- ¼ cup plus 2 tbsp coconut oil
- ¼ tsp salt
- ½ tsp raw sugar
- 4 tbsp ice water
- If making pie crust, place all ingredients except water into a food processor. While it's running, slowly add in ice water until dough comes together in a ball. (alternatively use a prepared crust). If you don't have a food processor, place flour, salt, and sugar into a bowl. Using your hands or a pastry cutter, mix in the coconut oil. Once mixed, gradually add in ice water until dough softens and feels like a workable dough.
- Press dough into a pie 9" deep dish plate, crimping the edges to make it look pretty! . Cover with plastic wrap and place in fridge until ready to fill.
- In a separate bowl, mix together pie filling ingredients. You can use cherries straight from the freezer or fresh ones. When ready to make your pie, pour ingredients into pie shell.
- In another bowl, mix together topping ingredients and press on top of pie filling. We had a little extra that we didn't use, set it aside and save it for some fresh fruit one night. Place on top and heat for a quick dessert.
- Place pie on a cookie sheet. Don't skip this!!! Your pie will most likely bubble over a little, so do this to prevent making a mess in your oven. Wrap some tin foil onto the exposed crust. This prevents the crust edges from getting burnt. They will still brown up covered.
- Bake at 375 fro about 60-70 minutes, until pie filling is bubbling and looks set (it has thickened).
- Let cool for 20 minutes before slicing. Stores well in fridge for a week and is great cold too!
