 Think making your own noodles is beyond your ability? No way! This noodle recipe is really easy. It’s something that your kids could help with, as they’ll love smooshing the dough in their hands. I made this using a gluten free flour blend. The hardest part of making this is rolling out the dough. If you can make a pie crust, you can make this.
I use xantham gum in this recipe. It helps bind and create the stickiness that gluten normally would in a recipe (it’s also a thickening agent). Some people have trouble with digesting xantham gum. If you do, leave it out or replace it with guar or locust gum (guar and xantham gums are easy to find in grocery stores now or on-line). The results may be different, however your health is more important! You could try using psyllium husk to help with the binding. I’d add in 1 tbsp in place of the xantham gum (I haven’t tried it with this recipe, but have with others). Xantham is made from a bacterial fermentation using corn or wheat as the host for growth. Be careful to purchase gluten free xantham gum. I use Bob’s Red Mill Brand.
I created a flour blend to make this recipe. Gluten is a protein found in a variety of grains; wheat, barley, rye. Different flours have different protein structures, which is why a variety is often used in gluten free cooking/baking. By replacing gluten free flours for those containing gluten, you need to make sure the protein level is high enough for the dough to create a similar structure to traditional flours. Here I used an all purpose gluten free flour (I like King Arthur) and combined it with sorghum flour (I used Bob’s Red Mill), to boost the protein. The use of tapioca starch helps to bind the noodles together as well. It also creates a silky feel to the noodles and helps in the rolling process.
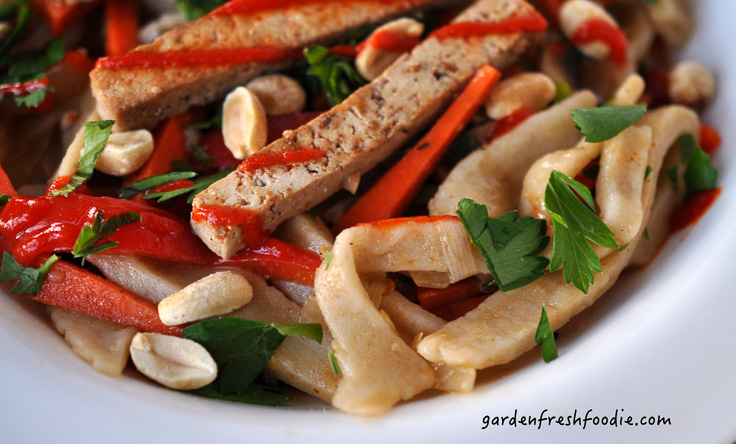
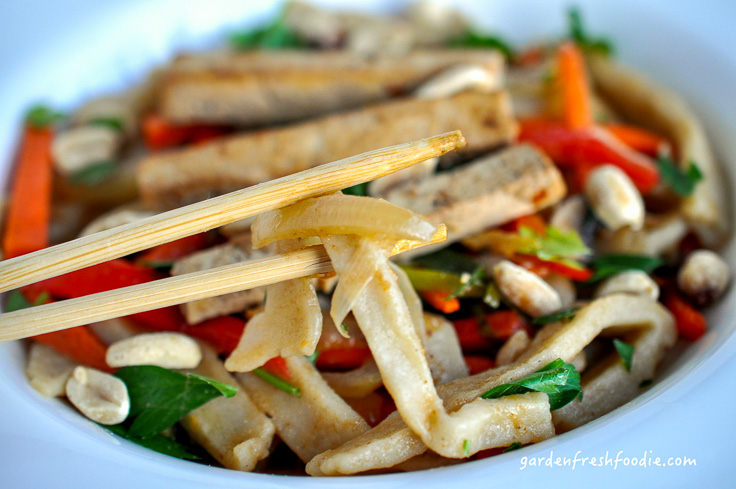
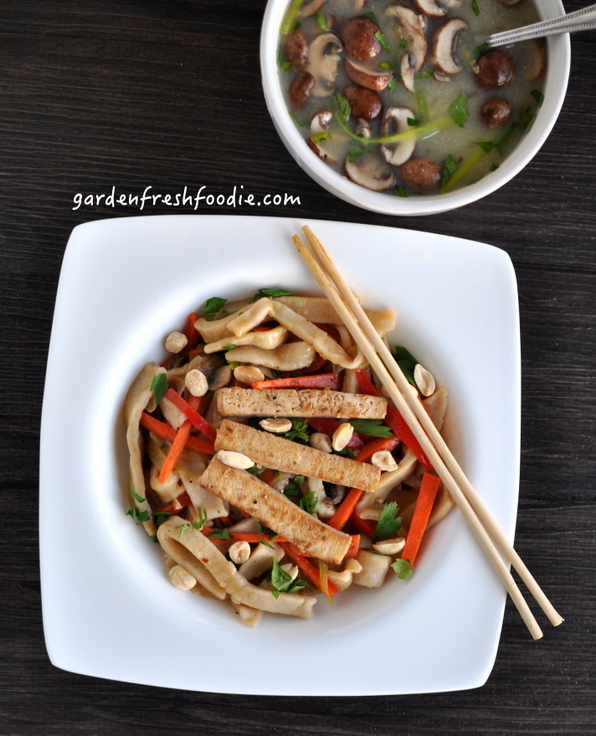
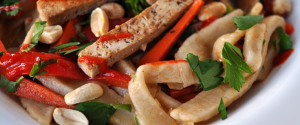
These noodles have a nice chew to them, as udon is supposed to. Be careful not to overcook them, or you will be left with a slimy mush. These freeze really well, so you might want to double the recipe and then freeze extra noodles in clumps to be used as desired. Fresh noodles rock! I paired these up with my Yaki Udon Stir Fry and my ginger miso soup to create a traditional Asian meal.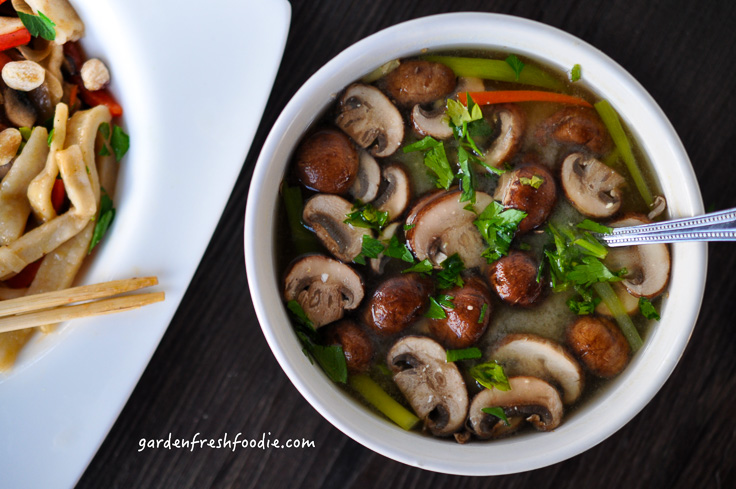
Ingredients:
- 100 g sorghum flour (you can use all, all-purpose if desired)
- 260 g of all-purpose gluten free flour
- 4 tsp xantham gum
- 1/3 cup tapioca (or corn) starch (plus extra for rolling dough)
- 1 1/4 cup water (start with 1 cup, add more if needed)
- 1 1/2 tsp sea salt/kosher salt
Instructions:
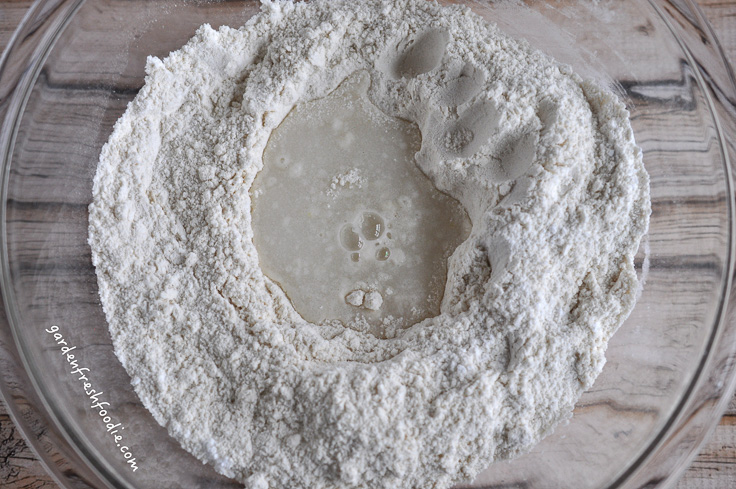
- To prepare dough: dissolve salt into warm water. In a separate bowl, mix flours, xantham, and starch. It’s best to weigh out your flours, I use a weight of 130 g per “cup”, but all flours weigh differently.
- Make a well into center of flour mixture, and add in 1/2 of the water, mixing with your hands. You will create a shaggy looking dough at this point.
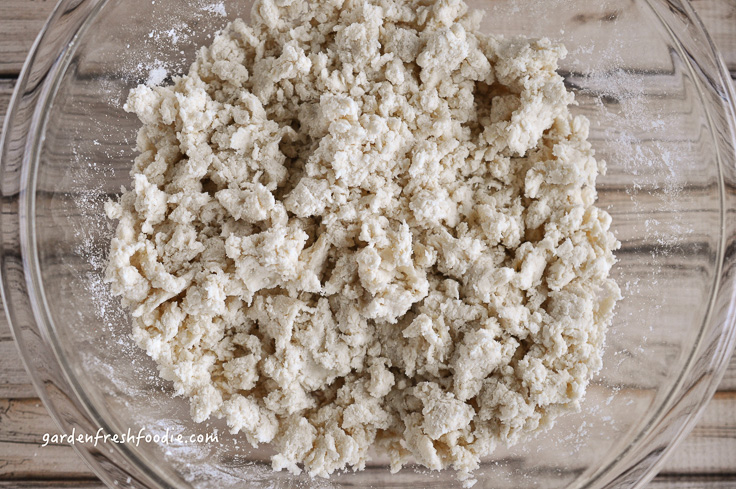
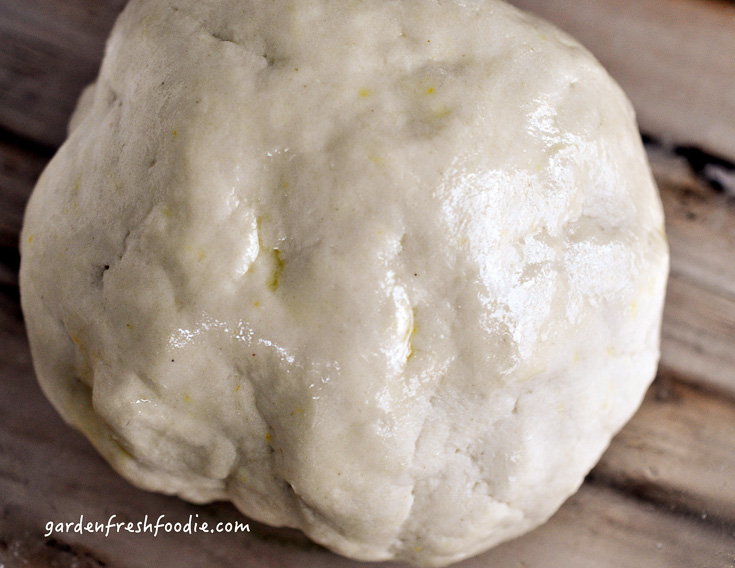
- Add in remaining water until dough forms a ball and comes together. Let this rest for about 30 minutes.
- Kneed dough on a wooden cutting board sprinkled with additional tapioca/corn starch. Kneed for about 5 minutes, until you feel the dough has been worked and is becoming more manageable. At this point rub it with a little olive oil. Let it rest for an hour or so, before rolling it out. You can also refrigerate the dough at this point if you’d like to make the noodles another day. Just be sure to wrap the dough to prevent it from drying out.
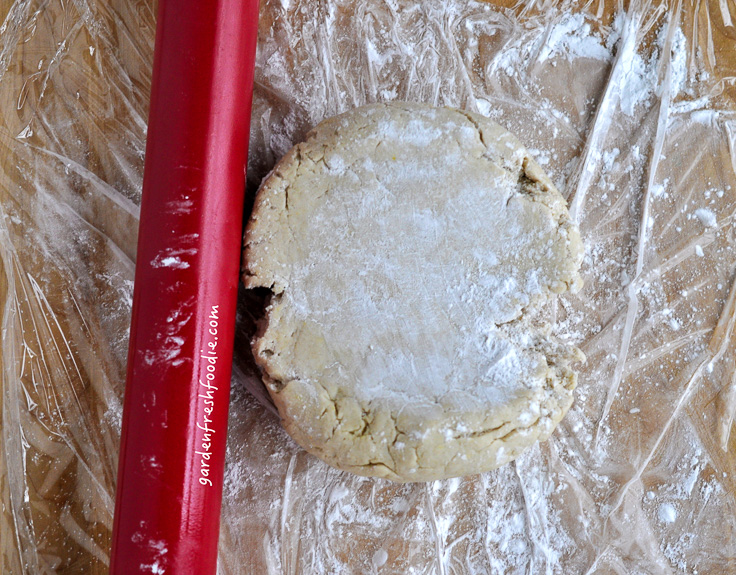
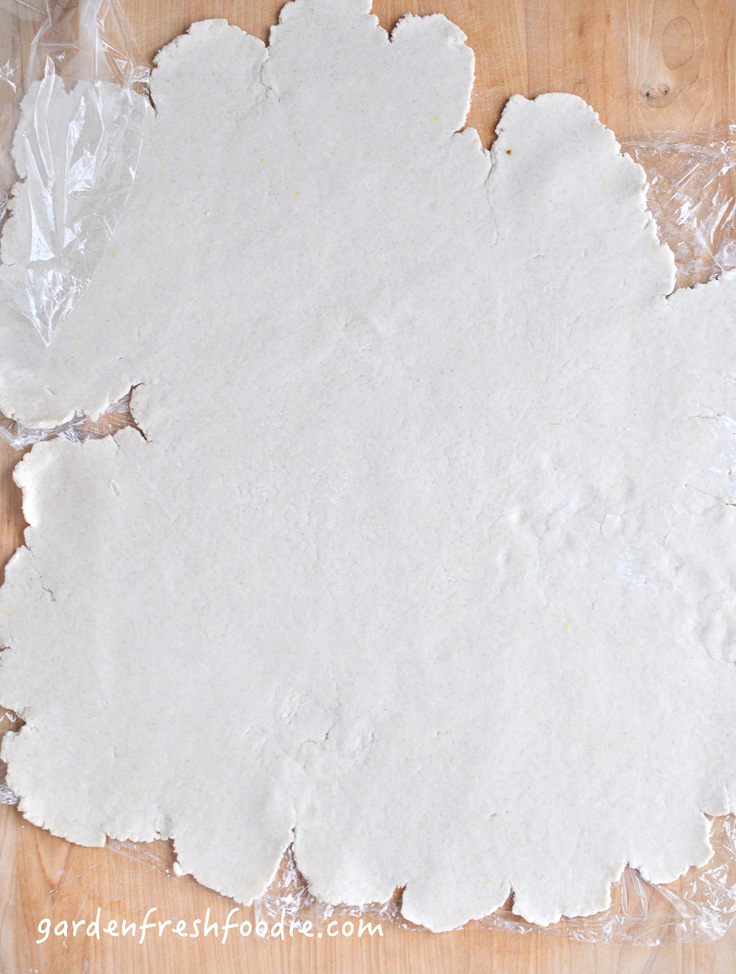
- When rolling dough: sprinkle additional tapioca/corn starch onto the wooden cutting board/counter and roll dough until very thin. The thinner the better, about 1/8″ thick. If it’s easier for you to split the dough in half, do so. This is especially true if you’ve doubled the recipe (you might want to divide into quarters). I have also rolled this out using 2 pieces of saran wrap to prevent the rolling pin from sticking to the dough and the dough sticking to the cutting board. If doing this, it’s still important to sprinkle with additional starch. The dough will feel soft, not sticky, as you slide across the starch.
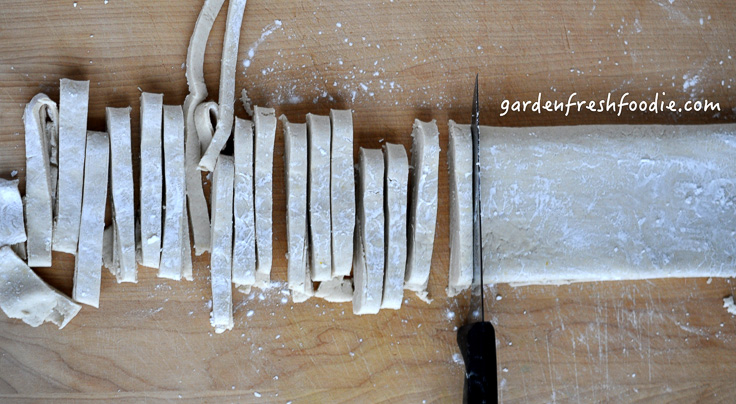
- Once rolled, take top and fold in half. Repeat and fold in half again, sprinkling with added starch on each fold. If you’d like to square off ends, do so at this time.

- With a knife, cut thin strips about 1/4″ wide. After cutting, unfold and sprinkle with added starch. You can form clumps of noodles to portion out individual servings. These can be placed onto a tray and frozen for later use. Once frozen, place into freezer bag. When ready to use, place frozen noodles directly into boiling water.
- To cook: bring large pot of water to a boil, and season with salt. Add noodles, be careful not to cook too much at one time (depends on your pot size). You want noodles to be able to move easily. Noodles will be done when slightly chewy, about 5 minutes (set a timer, as you don’t want to over cook them). Serve right away, or place into cold water for a few minutes until ready to serve/add to another dish like this stir fry.
- These noodles go well with my Yaki Udon Stir Fry ingredients and Ginger Miso Soup! Create your own combo of toppings and enjoy fresh, homemade gluten free noodles! So great when you have extras to pull out of the freezer, so double the recipe!
Nutritional Benefits:
- Plant-based: no cholesterol, added fats
- No added sugars, preservatives
- Gluten Free-reduces inflammation in the body
- 100 g sorghum flour (could omit and use all, all-purpose)
- 260 g of all-purpose gluten free flour
- 4 tsp xantham gum
- ⅓ cup tapioca (or corn) starch (plus extra for rolling dough)
- 1¼ cup water (start with 1 cup, add more if needed)
- 1½ tsp sea salt/kosher salt
- To prepare dough: dissolve salt into warm water. In a separate bowl, mix flours, xantham, and starch. It's best to weigh out your flours, I use a weight of 130 g per "cup", but all flours weigh differently.
- Make a well into center of flour mixture, and add in ½ of the water, mixing with your hands. You will create a shaggy looking dough at this point.
- Add in remaining water until dough forms a ball and comes together. Let this rest for about 30 minutes.
- Kneed dough on a wooden cutting board sprinkled with additional tapioca/corn starch. Kneed for about 5 minutes, until you feel the dough has been worked and is becoming more manageable. At this point rub it with a little olive oil. Let it rest for an hour or so, before rolling it out. You can also refrigerate the dough at this point if you'd like to make the noodles another day. Just be sure to wrap the dough to prevent it from drying out.
- When rolling dough: sprinkle additional tapioca/corn starch onto the wooden cutting board/counter and roll dough until very thin. The thinner the better, about ⅛" thick. If it's easier for you to split the dough in half, do so.This is especially true if you've doubled the recipe (you might want to divide into quarters). I have also rolled this out using 2 pieces of saran wrap to prevent the rolling pin from sticking to the dough and the dough sticking to the cutting board. If doing this, it's still important to sprinkle with additional starch. The dough will feel soft, not sticky, as you slide across the starch.
- Once rolled, take top and fold in half. Repeat and fold in half again, sprinkling with added starch on each fold. If you'd like to square off ends, do so at this time.
- With a knife, cut thin strips about ¼" wide. After cutting, unfold and sprinkle with added starch. You can form clumps of noodles to portion out individual servings. These can be placed onto a tray and frozen for later use. Once frozen, place into freezer bag. When ready to use, place frozen noodles directly into boiling water.
- To cook: bring large pot of water to a boil, and season with salt. Add noodles, be careful not to cook too much at one time (depends on your pot size). You want noodles to be able to move easily. Noodles will be done when slightly chewy, about 5 minutes (set a timer, as you don't want to over cook them). Serve right away, or place into cold water for a few minutes until ready to serve/add to another dish like this stir fry.
- These noodles go well with stir fry ingredients and Ginger Miso Soup. Create your own combo of toppings and enjoy fresh, homemade gluten free noodles! So great when you have extras to pull out of the freezer!

Amazing! I made these and I was really surprised that they held their texture so well! It was chewy but firm. Next time I’ll make a big batch and freeze.
I used rice flour instead of sorghum as I didn’t have any and it worked really well!
Amazing recipe, congrats!
So glad you enjoyed them Mel! They freeze really well and are great to have on hand!! Be sure to freeze them in pikes before placing into a freezer container.